Uploading logs to a remote host allows us to centralize reports for more than one device and to keep a report backup to research in case something fails preventing us from accessing logs locally.
This tutorial shows how to setup a remote server to host logs and how to send these logs from client devices and how to classify or divide logs in directories by client host.
To follow instructions you can use a virtual device, I took a free tier VPS from Amazon (if you need help setting up an Amazon device they have great dedicated content on it on LinuxHint at https://linuxhint.com/category/aws/). Note the server public IP is different than its internal IP.
Prior to starting:
The software used to send logs remotely is rsyslog, it comes by default on Debian and derived Linux distributions, in case you don’t have it run:
You can always check the rsyslog state by running:
As you can see the status on the screenshot is active, if your rsyslog isn’t active you can always start it by running:
Or
Note: For additional information on all options to manage Debian services check Stop, start and restart services on Debian.
Starting rsyslog isn’t relevant right now because we will need to restart it after making some changes.
How to Send Linux Logs to a Remote Server: The Server Side
First of all, on the server edit the file /etc/resyslog.conf using nano or vi:
Within the file, uncomment or add the following lines:
input(type="imudp" port="514")
module(load="imtcp")
input(type="imtcp" port="514")
Above we uncommented or added logs receptions through UDP and TCP, you can allow only one of them or both them, once uncommented or added you’ll need to edit your firewall rules to allow incoming logs, to allow logs reception through TCP run:
To allow incoming logs through UDP protocol run:
To allow through both TCP and UDP run the two commands above.
Note: for more information on UFW you can read Working with Debian Firewalls (UFW).
Restart rsyslog service by running:
Now continue on the client to configure sending logs, then we’ll get back to the server to improve the format.
How to Send Linux Logs to a Remote Server: The Client Side
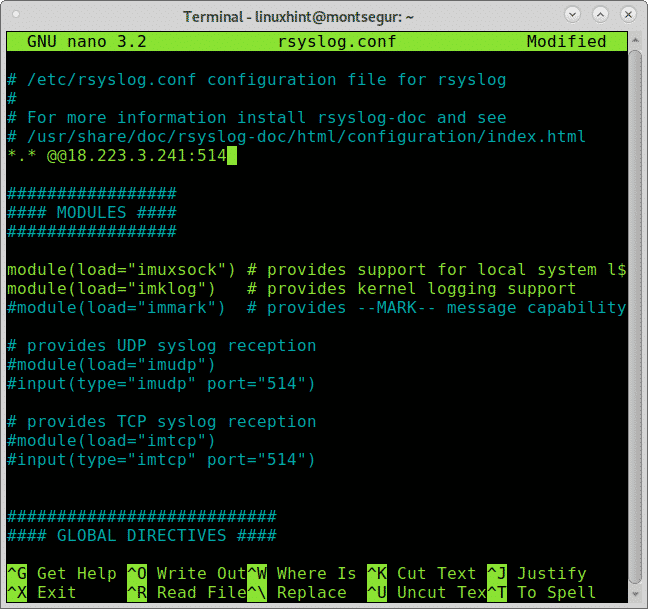
On the client sending logs add the following line, replacing the IP 18.223.3.241 for your server IP.
Exit and save changes by pressing CTRL +X.
Once edited restart the rsyslog service by running:
On the server side:
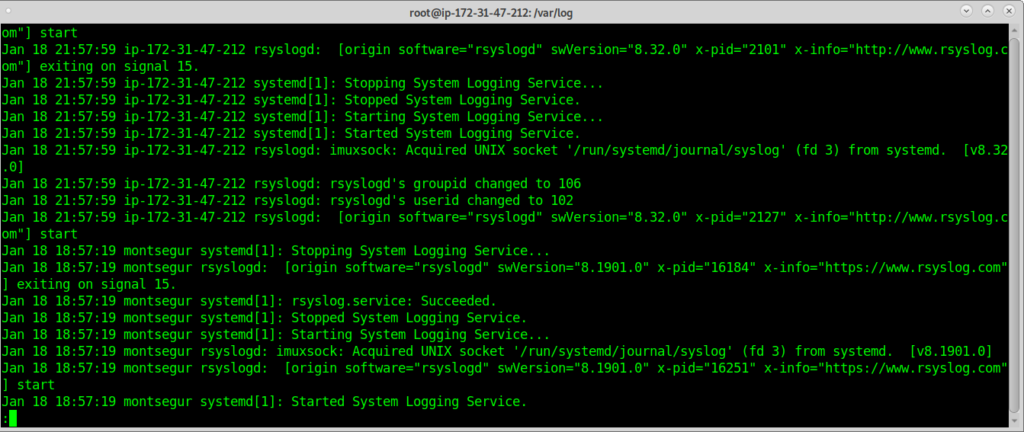
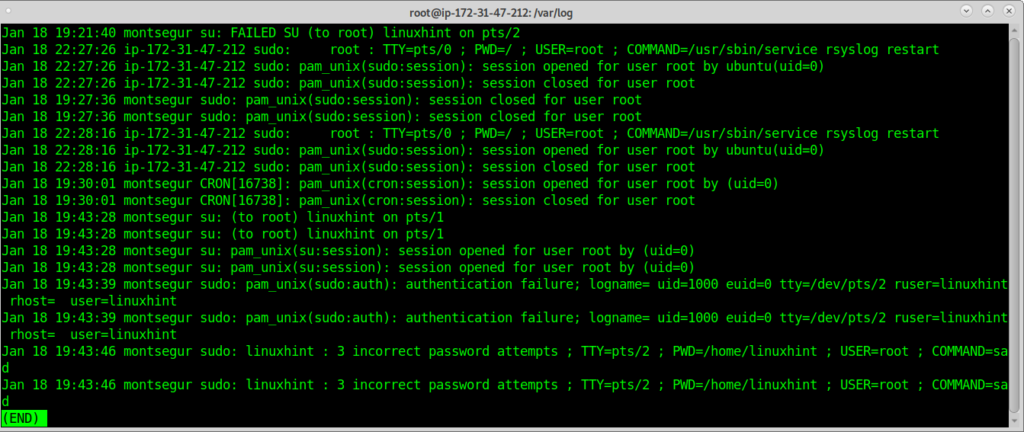
Now you can check logs inside /var/log, when opening them you’ll notices mixed sources for your log, the following example shows logs from Amazon’s internal interface and from the Rsyslog client (Montsegur):
A zoom shows it clear:
Having mixed files isn’t comfortable, below we will edit rsyslog configuration to separate logs according to the source.
To discriminate logs inside a directory with the name of the client host add the following lines to the server /etc/rsyslog.conf to instruct rsyslog how to save remote logs, to do it within the rsyslog.conf add the lines:
*.* ?RemoteLogs
& ~
Exit saving changes by pressing CTRL +X and restart rsyslog on the server again:
Now you can see new directories, one called ip-172.31.47.212 which is AWS internal interface and other called “montsegur” like the rsyslog client.
Within the directories you can find the logs:
Conclusion:
Remote logging offers a great solution to a problem which can bring services down if the server storage becomes full of logs, as said in the beginning, it is also a must in some cases in which the system may be seriously damaged without allowing access to logs, in such cases a remote log server guarantees sysadmin access to the server history.
Implementing this solution is technically pretty easy and even free considering high resources aren’t need and free servers like AWS free tiers are good for this task, should you increase log transference speed you can allow UDP protocol only (despite losing reliability). There are some alternatives to Rsyslog such as: Flume or Sentry, yet rsyslog remains the most popular tool among Linux users and sysadmins.
I hope you found this article on How to Send Linux Logs to A remote server useful.


