In the modern era, the world has seen major progression in the technological sector. New and advanced technologies have made the lives of people easier. Not long ago, people used landlines to communicate with one another, but now, devices such as smartphones have arrived. Such advances have truly revolutionized the lives of humans in ways that go beyond the concept of communication. Such has been the impact of technology on our lives that every aspect of modern life has been merged with it. Whether it involves our finances or our social profiles, all rely heavily on technology.
However, this reliance of ours has made us much more vulnerable to data breaches. The real-life cases of Adobe and eBay clearly indicate what a serious issue cybersecurity is. Cyberattacks have also been on the rise and, to top it off, even more advanced and new kinds of attacks are being developed every day. Although Linux is much more secure than Windows and other operating systems, it is still vulnerable to viruses.
Hence, it is essential to adopt measures that can protect our machines from these security attacks. One excellent solution is to use password managers. Thus, the topic of our discussion in this article will be Bitwarden, an open-source password manager.
What is Bitwarden?
Bitwarden is a free and open-source password manager that is available for Linux and all other major operating systems, like Windows and macOS. Bitwarden also has extensions for all the popular web browsers, such as Chrome, Firefox, Edge, etc. It even has applications available for both Android and IOS mobile devices. Bitwarden offers a very user-friendly and easy-to-use interface, making its graphical interface an excellent choice to have. It works by storing your passwords and other sensitive data inside of an encrypted vault, which itself is protected by a master password. Bitwarden offers both a free and paid account to its users, with the latter having different plans, all of which are low-priced when compared with the market. The free version of Bitwarden, however, is also a very notable choice, as it offers a wide array of features that cannot be found in other password managers.
Installing Bitwarden
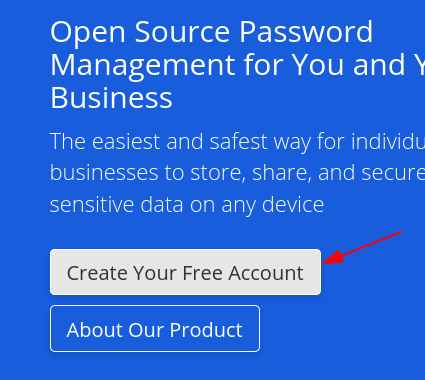
Before we move onto the installation process of Bitwarden, it is important to know that you need to sign up for an account to use this program. Simply go to the official website of Bitwarden, click the Create your Free Account option, and input your details to create an account.
Once you are done creating your account, it is also good practice to install an extension of Bitwarden inside your web browser for automatic fill-in of your login details. You can install this either by going to the official extension and add-ons page of your browser or by clicking the options available on Bitwarden’s official webpage.
There are two primary methods of installing Bitwarden on your machine. We will look at them in the following section.
Installing Bitwarden Using AppImage
To install Bitwarden using its AppImage, once again, open Bitwarden’s official website. Then, select the Download option from the top of the page and click on the Linux segment found under the Desktop heading.
This will download an AppImage onto your Linux machine. To start using Bitwarden, first, you must give it executable permission. This can be done by right-clicking on the icon and selecting the Properties option.
Next, open the Permissions tab and click the square box next to the line Allow executing file as program to make your AppImage executable.
Now, Bitwarden can be opened by double-clicking the AppImage file.
Installing Bitwarden Using Snap
Another method of installing Bitwarden on your computer is by using Snaps. Snaps are applications that include all the dependencies bundled together inside a software package. This removes the hassle of separately installing dependencies along with your application. To install Bitwarden using Snaps, simply run the following command in the terminal:
Using Bitwarden
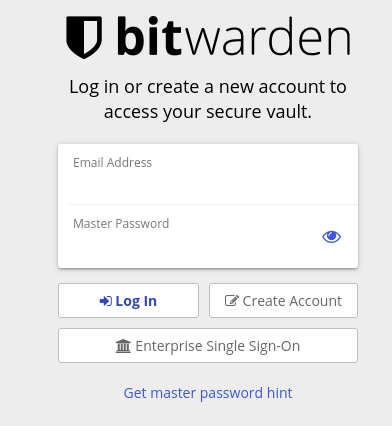
After downloading and opening Bitwarden, a login menu will appear in front of your screen. Enter your login details to start using Bitwarden. Note that if you were not able to make your Bitwarden account before, you can do so from here.
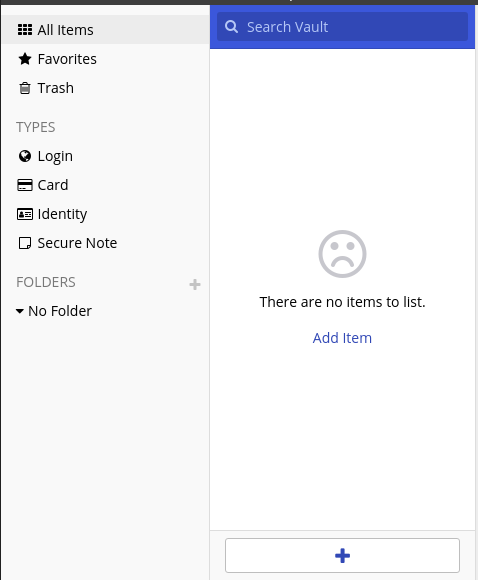
After logging in, Bitwarden will take you to your Vault, where all your passwords and sensitive data will be saved.
You can manually add items inside your Vault by clicking on the plus icon, as seen in the image above. This will open a window into which you can input any details about your account that you want to add.
You can also change the type of item that you want to add by selecting options from the drop-down menu, as indicated in the image below.
It is important to note that the item details that you input in this window will change depending on what type you choose to add.
When adding accounts to your Vault, you can also use the Password Generator option of Bitwarden, which will automatically generate a secure password for you.
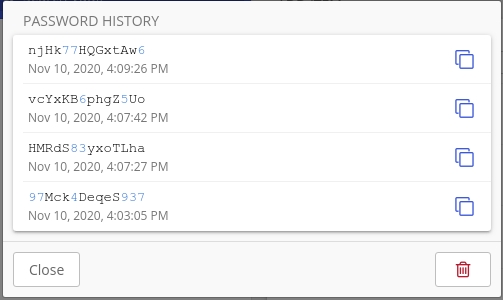
To keep track of all these passwords, you can use the Password History option in the View tab, where all generated passwords will be stored.
You can also sync your account with your web browser by going to the File option and selecting the Sync Vault option.
Bitwarden even allows you to export your Vault by using the Export Vault option, as seen in the image above. The exported files will either be in the json or csv format.
So, Why Use Bitwarden?
There is no doubt that the Internet has revolutionized the world, as it has now become an integral part of our daily lives. As we are now highly dependent on technology for our day-to-day work, this dependency has paved the way for cybersecurity issues to arise and has led to severe cases of identity theft and data leakage. Bitwarden is an excellent choice to protect your machine from such threats, as it offers a way for users to protect their data and keep their systems secure.


