NOTE: Make sure to set SELinux to permissive mode on your CentOS 8 machine. Otherwise, the steps shown in this article won’t work. Covering SELinux is out of the scope of this article.
Network Topology:
Here, linuxhint-s80 will be configured as a PXE boot server. It will also be assigned a static IP address 192.168.15.1. Other computers on the network will be able to boot into CentOS 8 installer from the PXE boot server.
Setting Up Static IP Address:
You must set up a static IP on your CentOS 8 machine before you move any further. For assistance on configuring a static IP address on your CentOS 8 machine, check my article Configuring Static IP on CentOS 8.
I will configure ens256 network interface for PXE booting on my CentOS 8 machine. It may be different for you. So, run the following command to find out the network interface you want to use.
I used nmtui to configure ens256 interface for PXE booting as follows.
Configuring DHCP and TFTP for PXE Booting:
You have to configure a DHCP and a TFTP server for PXE boot. You can use dnsmasq for that.
First, update the YUM package repository cache with the following command:
Now, install the dnsmasq with the following command:
dnsmasq should be installed.
Now, rename the original /etc/dnsmasq.conf file to /etc/dnsmasq.conf.backup as follows:
Now, create an empty dnsmasq.conf file with the following command:
Now, type in the following lines in the dnsmasq.conf file and save it.
bind-interfaces
domain=linuxhint.local
dhcp-range=ens256,192.168.15.100,192.168.15.240,255.255.255.0,8h
dhcp-option=option:router,192.168.15.1
dhcp-option=option:dns-server,192.168.15.1
dhcp-option=option:dns-server,8.8.8.8
enable-tftp
tftp-root=/netboot/tftp
dhcp-boot=pxelinux.0,linuxhint-s80,192.168.15.1
pxe-prompt="Press F8 for PXE Network boot.",5
pxe-service=x86PC,"Install OS via PXE",pxelinux
Now, create the required directory structure for PXE booting as follows.
Now, restart the dnsmasq service with the following command:
dnsmasq service should be running.
Now, add the dnsmasq service to the system startup as follows:
Installing and Configuring PXE Bootlaoder:
Now, you have to install the PXE bootloader files and copy them over to the TFTP root directory.
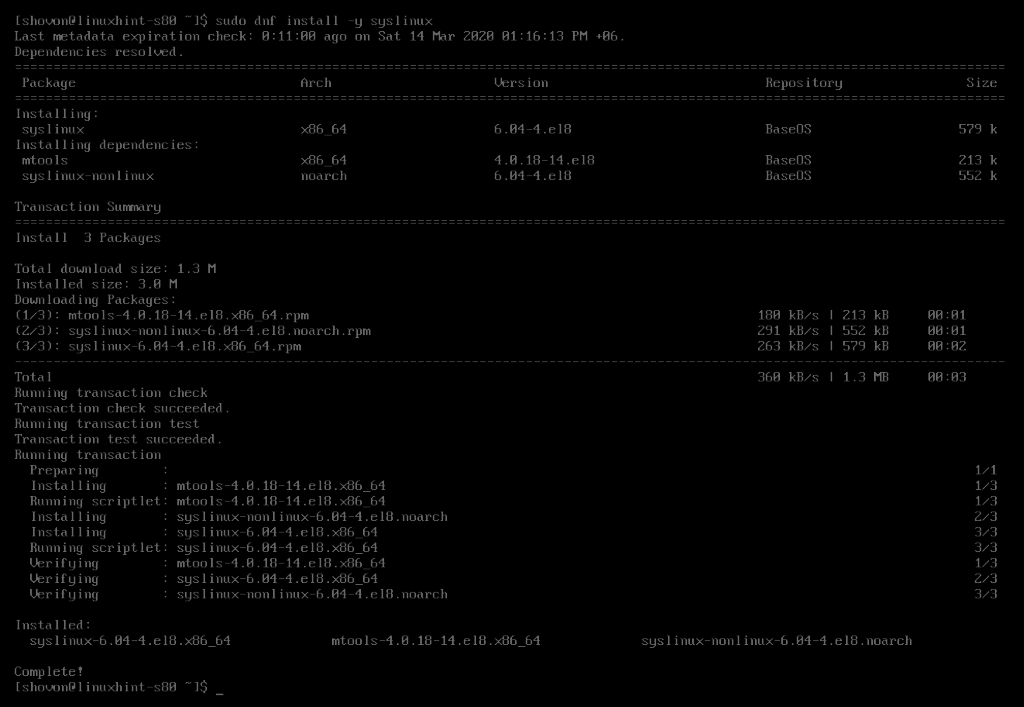
To install the PXE bootloader files, run the following command:
Once syslinux is installed, copy the required files to the /netboot/tftp directory as follows:
/netboot/tftp/
Installing Apache Web Server:
CentOS 8 support PXE booting over HTTP. So, you must use a web server to server the all the required files over HTTP in order to boot CentOS 8 installer via PXE. In this article, I will use Apache HTTP server.
You can install Apache HTTP server with the following command:
Apache HTTP server should be installed.
Now, make a symbolic link /netboot/www of the /var/www/html directory for easier management of the PXE boot server as follows:
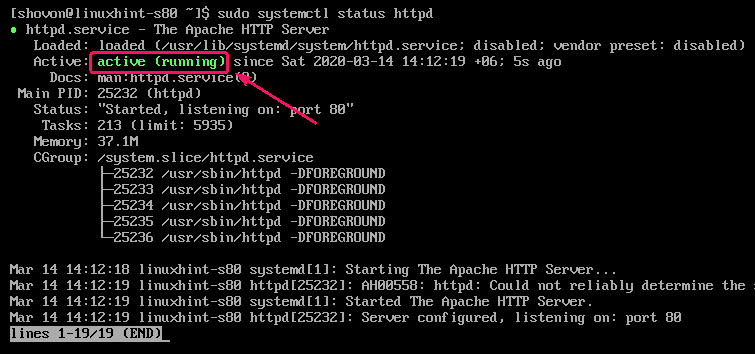
Now, start the httpd service as follows:
The httpd service should be running.
Now, add the httpd service to the system startup with the following command:
Preparing CentOS 8 DVD for PXE Boot:
You can download CentOS 8 installer DVD image with the following command:
CentOS-8.1.1911-x86_64-dvd1.iso
NOTE: The DVD image is about 7 GB in size. So, it will take a long time to download. That’s why, I used an older version of the DVD image I already had in my external hard drive. The process is the same for the new version of the DVD image. Just, make sure to replace the file name with the new one. That’s all.
Once you have CentOS 8 installer DVD downloaded, mount the DVD image in the /mnt directory as follows.
Now, create the required directories for storing the CentOS 8 installer files and bootloader files as follows.
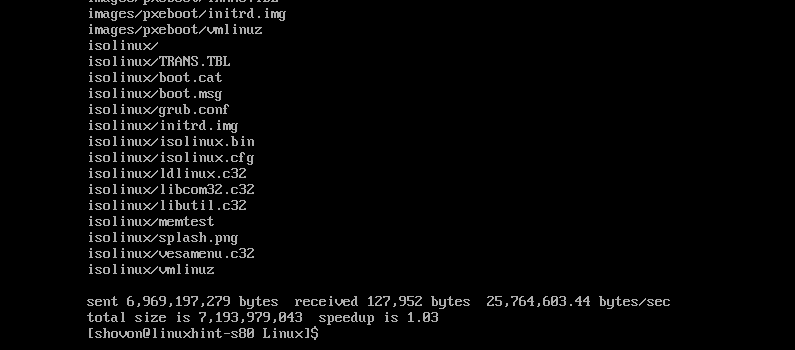
Now, copy the contents of the ISO file to the /netboot/www/centos8/ directory as follows:
The contents of the CentOS 8 installer DVD image should be copied to /netboot/www/centos8/ directory.
Now, copy the initrd.img and vmlinuz files from the /netboot/www/centos8/images/pxeboot/ directory to the /netboot/tftp/centos8/ directory as follows:
/netboot/tftp/centos8/
Now, you can unmount the CentOS 8 installer DVD image and delete it if you want.
Adding PXE Boot Entry for CentOS 8:
Now, you have to add a boot entry for CentOS 8 PXE booting on the /netboot/tftp/pxelinux.cfg/default file.
Open the configuration file /netboot/tftp/pxelinux.cfg/default for editing as follows.
Now, type in the following lines in the /netboot/tftp/pxelinux.cfg/default file and save it.
label install_centos8
menu label ^Install CentOS 8
menu default
kernel centos8/vmlinuz
append initrd=centos8/initrd.img ip=dhcp inst.repo=http://192.168.15.1/centos8/
Configuring the Firewall:
Now, you have to open some ports from your firewall for the PXE boot server to work.
Allow the DHCP, HTTP, TFTP services through the firewall as follows.
Also allow the UDP port 4011 and 69 through the firewall as follows.
For the changes to take effect, run the following command:
Installing CentOS 8 via PXE:
Now, on the PXE client where you want to install CentOS 8 over the network via PXE, go to the BIOS and select Network Boot.
When you see the following message, press <F8>.
Now, select Install OS via PXE and press <Enter>.
You will only have one option. So, just press <Enter>.
CentOS 8 installer is booting over the network via PXE.
The CentOS 8 graphical installer should start. Now, you can install CentOS 8 as usual. If you need any assistance on installing CentOS 8, you may check my article How to Install CentOS 8 Server.
CentOS 8 installer configuration window.
CentOS 8 being installed.
CentOS 8 installation completed.
CentOS 8 installed over the network via PXE. It’s also running correctly.
So, that’s how you configure PXE network boot server on CentOS 8 and boot CentOS 8 installer DVD image over the network via PXE. Thanks for reading this article.


