Method of using the “.gitignore” File in Ubuntu 20.04
To use the .gitignore file in Ubuntu 20.04, we will walk you through the following nine steps:
Step 1: Acquire the Test Repository
Instead of creating our own project repository, we have used a sample repository available at GitHub. You need to acquire this repository by running the command mentioned below:
Once the specified repository has been cloned to your Ubuntu 20.04 system, it will display the following status on the terminal:
Step 2: Create a Sample File to be ignored
Now we need to create a sample file that we want to be ignored in our project directory. For that, we first need to go to our project directory by running this command:
Here, you need to provide the path where you have cloned the test repository.
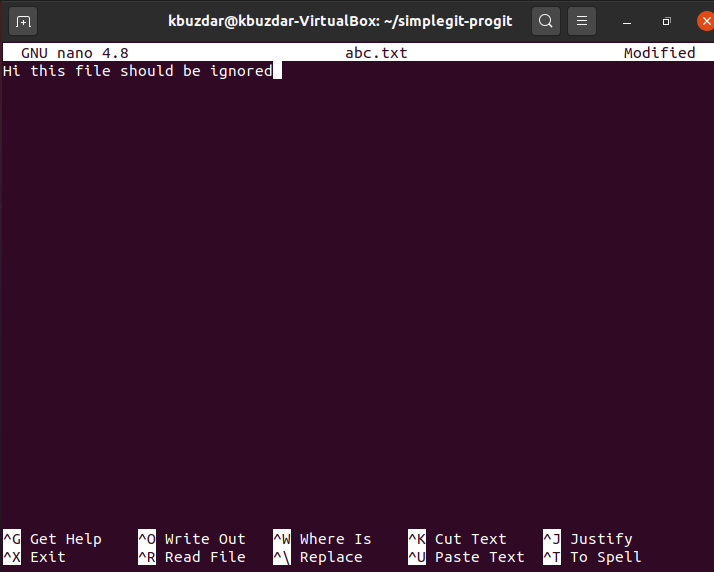
Once you are within the test repository, you can create a sample file in it by running the following command:
When this file opens up with the nano editor, you can write any random text in it, as shown in the image below, after which you can save this file.
Step 3: Create the .gitignore File
Once we have created a file that we want to ignore in our next commit, we will create the .gitignore file in our project repository by running the following command:
Step 4: Add the Files to be ignored in the .gitignore File
When the .gitignore file opens with the nano editor, you have to add the name of the file that you want to ignore to the .gitignore file. In our case, it is the abc.txt. After adding this file to the .gitignore file, we will simply save it. You can add as many files as you want to ignore in the .gitignore file in separate lines.
Step 5: Reinitialize Git
Once we have made the desired changes, we have to reinitialize Git by running the following command:
If this command manages to reinitialize Git successfully, then you will be able to see the message shown in the image below.
Step 6: Add the Newly Made Changes to your Repository
The next step is to add the newly made changes to our project repository by running the following command:
If the changes are successfully added to your project repository, then the system will not display any messages on the terminal, as shown in the image below.
Step 7: Check the Current Status of Git
Now before committing these changes to Git, we will check the current status of Git with the following command:
The current status of our Git project repository is shown in the image below.
Step 8: Commit all the Changes
Now we will commit these changes by running the following command:
Here, you can replace “Message to be Displayed” with any message of your choice that you want to be displayed with your recent commit.
The results of our recent commit are shown in the image below.
You can easily see from the image shown above that only the .gitignore file has been committed and not the abc.txt file since we wanted to ignore it in our commit. It means that Git has successfully managed to ignore the file that we mentioned in our .gitignore file while committing the changes.
Conclusion
By following today’s tutorial, you can easily add as many files as you want to ignore while doing a commit in your .gitignore files. In this way, you will not only save these files from getting messed up accidentally, but it will also save your resources that will be spent on committing irrelevant files.


