In this article, you will learn how to install and get started with PostgreSQL on Ubuntu 20.04 system using the terminal.
Installation of PostgreSQL on Ubuntu 20.04
To install PostgreSQL on Ubuntu 20.04, you will perform the following steps:
Open the terminal using Ctrl + Alt + t and login as the root user on your system.
Update system packages
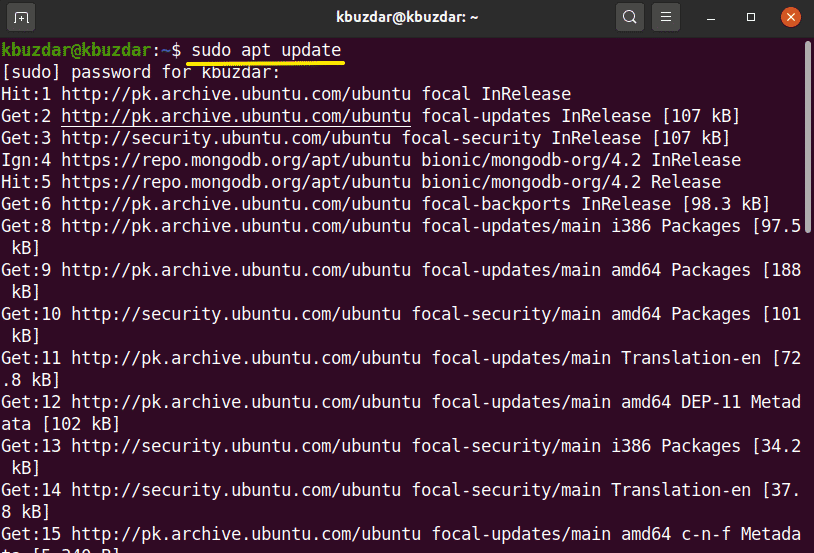
It is recommended that you should update your system packages before installing any new software package. For this purpose, type the following command to update the current working system packages:
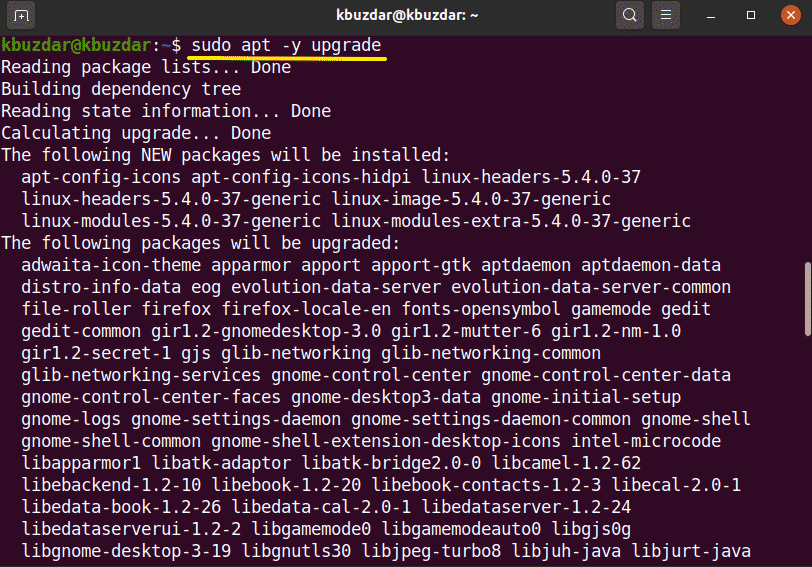
Using the following command to upgrade the installed packages:
Install PostgreSQL on Ubuntu 20.04
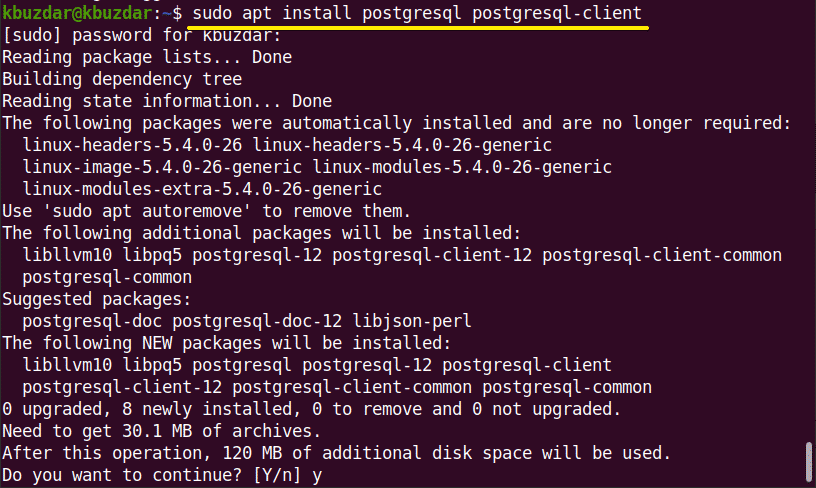
You can install PostgreSQL on Ubuntu 20.04 without configuring the Ubuntu repository. Use the following command to install PostgreSQL on Ubuntu 20.04:
During the installation, a prompt will display on your system that will ask you to confirm the installation process that either you want to continue or not. You need to press ‘y’ to continue the installation.
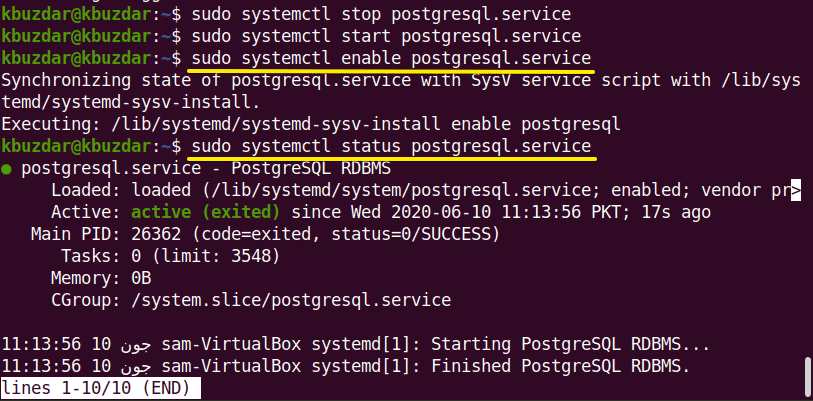
After completing the installation of PostgreSQL, you will start, stop, and enable the PostgreSQL services using the following command:
$ sudo systemctl start postgresql.service
$ sudo systemctl enable postgresql.service
Now, to verify the PostgreSQL service status that either it is running on your system or not. Use the following command to check the service status:
Set PostgreSQL user password
You can change or create the user password for PostgreSQL. Using the following command, you can change the default user password for PostgreSQL:
The prompt will ask you to enter the new password then again retype the new password. After that, a confirmation notification will be displayed ‘password updated successfully’.
After successfully changing the new password, now on each PostgreSQL access, you need to enter a new reset password for confirmation.
Access PostgreSQL shell
PostgreSQL has been installed on your system. Now, you will log in to PostgreSQL as a user to access the databases and working shell using the following command:
Now, enter the following command to into the PostgreSQL shell:
Create a database and user roles
Here, the psql 12 is installed on my system. You can create new databases and users using interactive Postgresql shell as follows:
Now create a new user and database using the following command:
$ createdb samdb -O dbusersam
$ psql samdb
Change the role and password using the following command. The \q is used to quite from the shell.
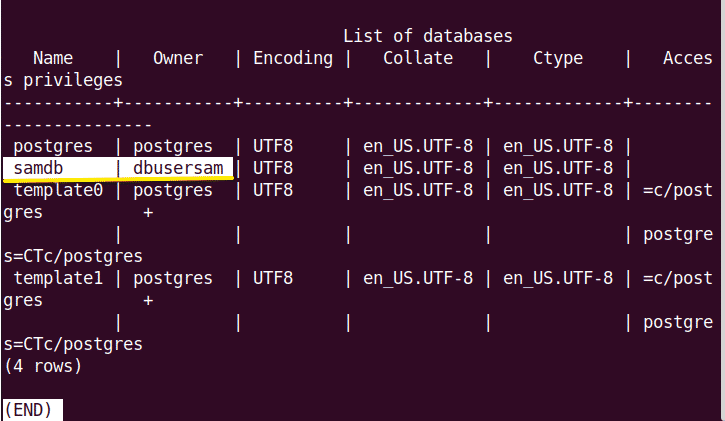
Use the following command to list databases:
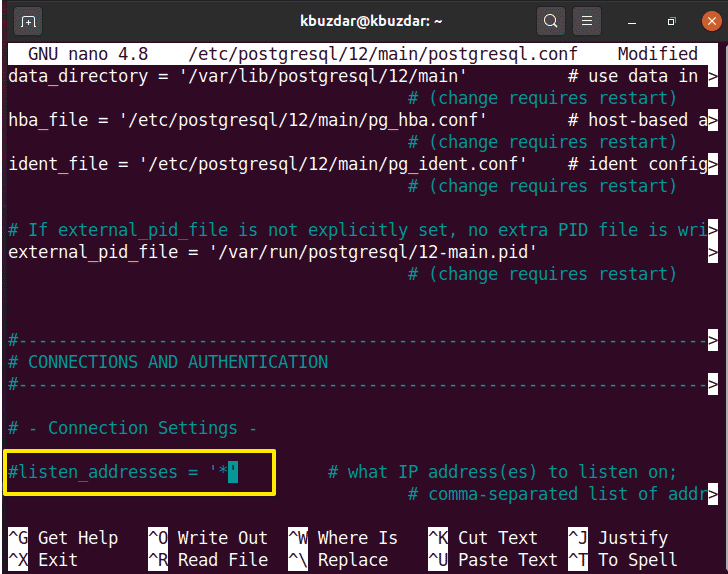
The PostgreSQL by default listens at the local interface which is 127.0.0.1. But, you can open its remote access by doing some changes in the configuration file. To access the configuration file of PostgreSQL, you will use the following command:
In the above-displayed file under the connection settings you will set #listen_addresses= ‘+’ and then save the file. This is an optional step for PostgreSQL installation.
Now you will restart the PostgreSQL services on your system as follows:
In this article, we implemented the installation of PostgreSQL on Ubuntu 20.04. Furthermore, you learned the different psql commands. In the future, you can explore more commands related to PostgreSQL using the command line.

