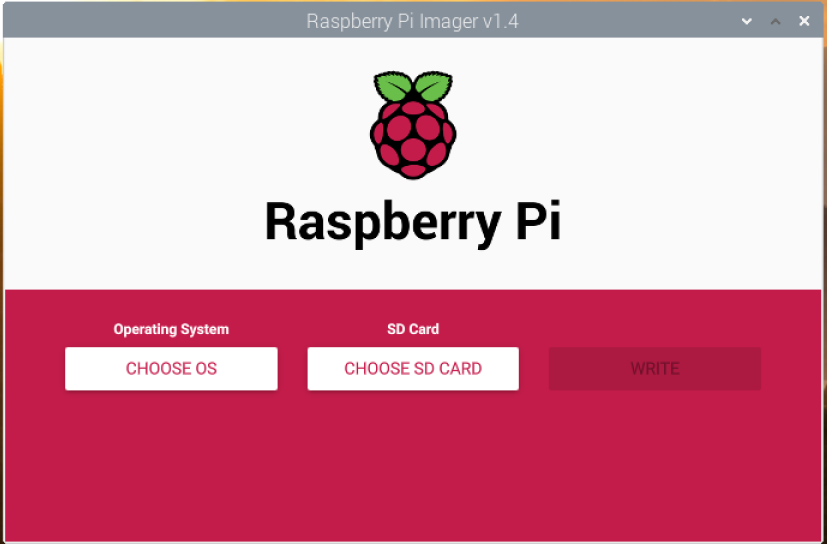
To flash the Raspberry Pi OS or Raspbian on the microSD card, previously we have used Balena Etcher, Win32 Disk Imager, and some other programs. Recently, the Raspberry Pi Foundation has released the Raspberry Pi Imager for flashing Raspberry Pi OS or Raspbian and other operating system images on the microSD card for booting these operating systems on the Raspberry Pi.
In this article, I am going to show you how to install and use Raspberry Pi Imager to flash operating system images on the microSD card. So, let’s get started.
Installing Raspberry Pi Imager on Raspberry Pi OS:
In this section, I am going to show you how to install Raspberry Pi Imager on Raspberry Pi OS. This way, you can flash OS images on the microSD card from your Raspberry Pi devices.
Raspberry Pi Imager is available in the official package repository of Raspberry Pi OS. So, it is very easy to install.
First, update the APT package repository cache with the following command:
The APT package repository cache should be updated.
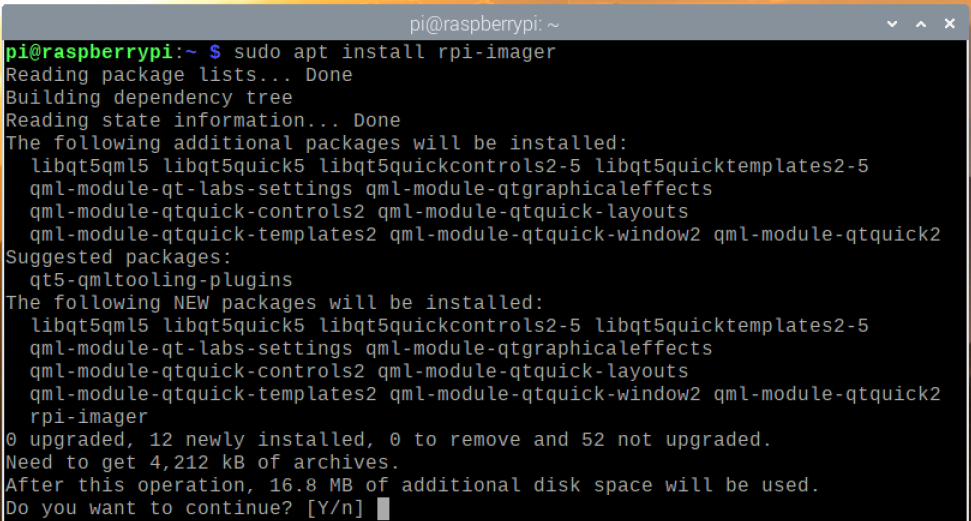
To install Raspberry Pi Imager, run the following command:
To confirm the installation, press Y and then press <Enter>.
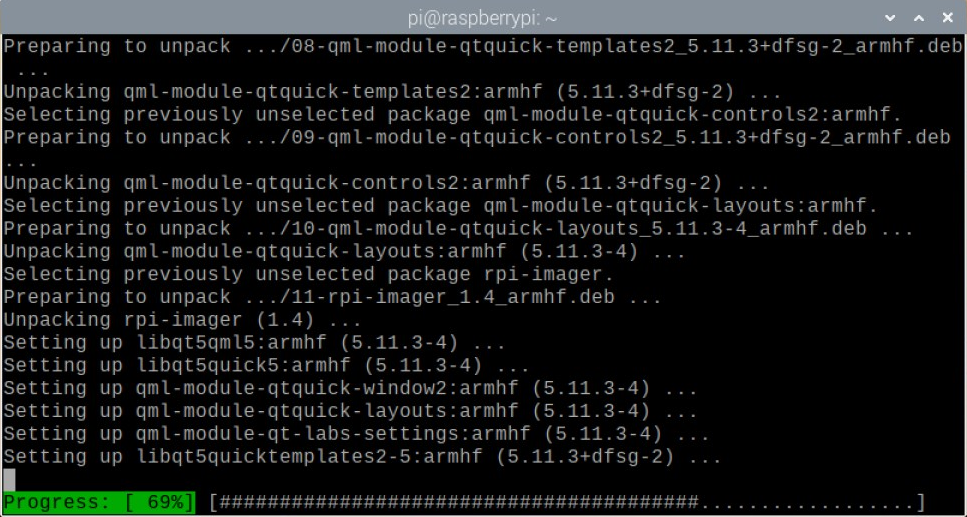
The Raspberry Pi Imager is being installed. It may take a few seconds.
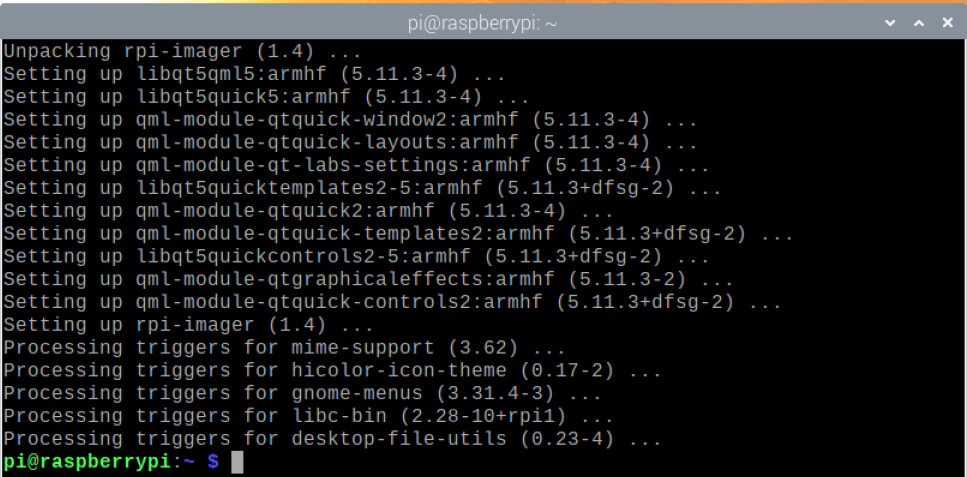
At this point, the Raspberry Pi Imager should be downloaded.
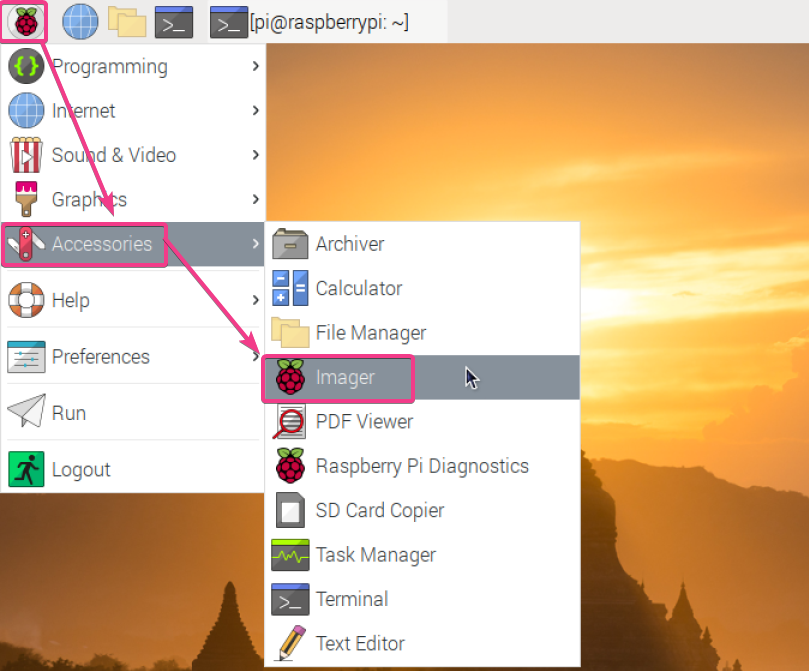
Once the Raspberry Pi Imager is installed, you can start it from Application Menu > Accessories > Imager as shown in the screenshot below.
Raspberry Pi Imager should be started.
Installing Raspberry Pi Imager on Windows 10:
In this section, I am going to show you how to install Raspberry Pi Imager on Windows 10.
First, visit the official downloads page of Raspberry Pi Imager from your favorite web browser.
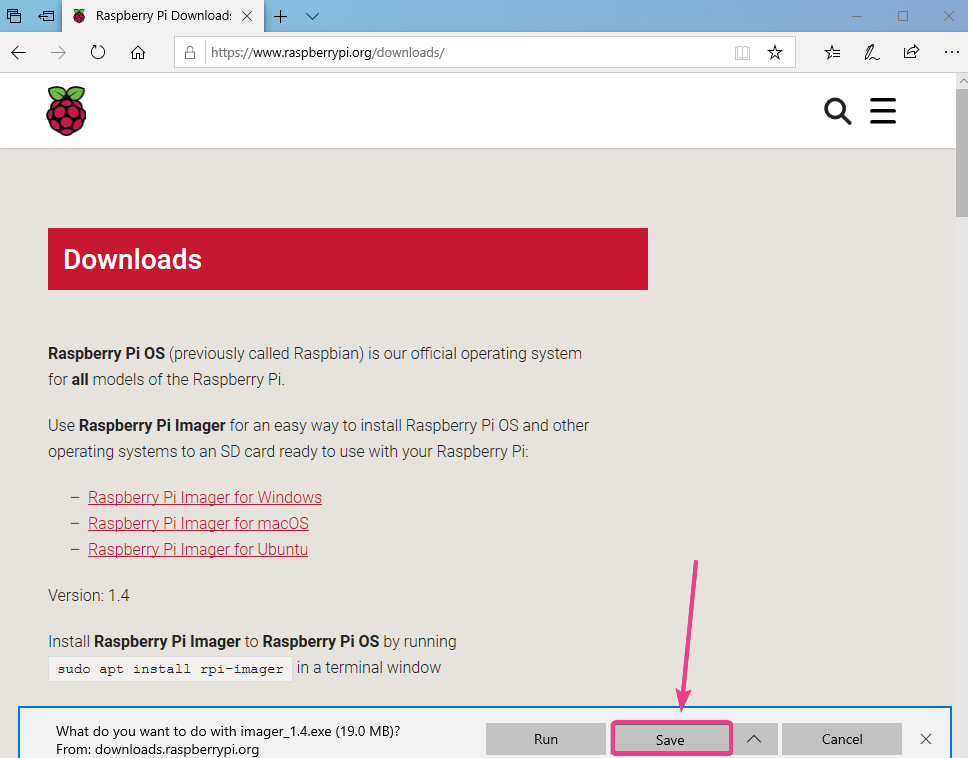
Once the page loads, click on the Raspberry Pi Imager for Windows link as marked in the screenshot below.
Your browser should prompt you to save the installation file of Raspberry Pi Imager. Click on Save.
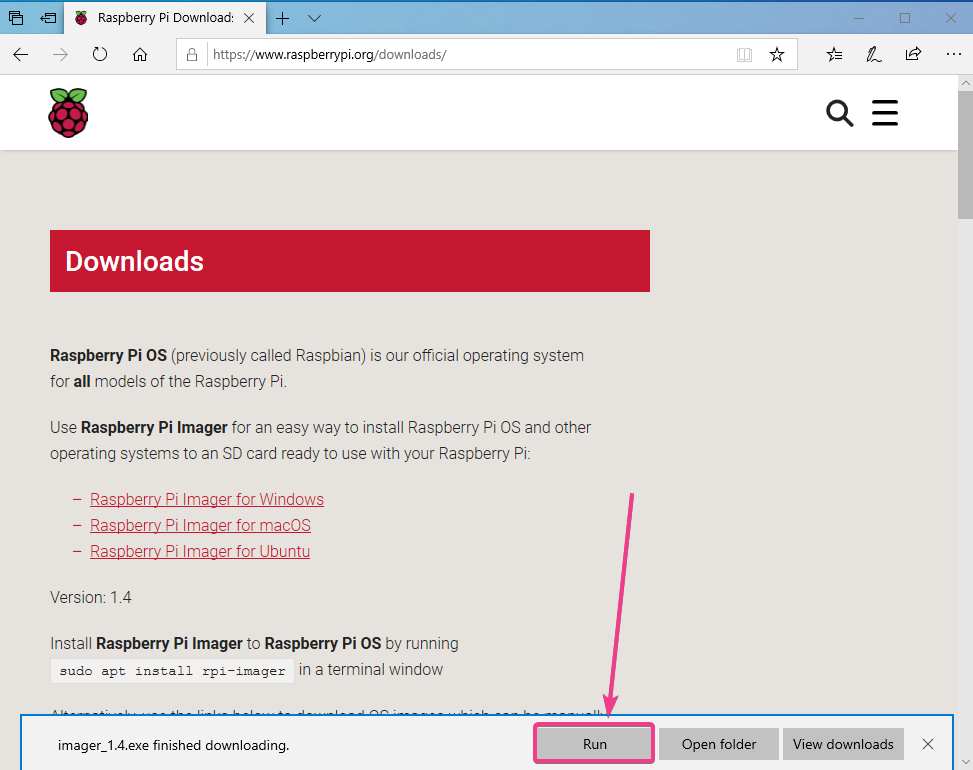
Once the download is finished, run the Raspberry Pi Imager installer.
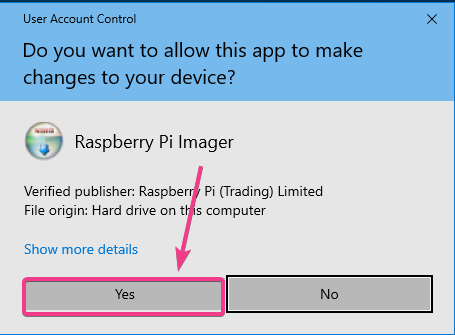
To allow the installer on your computer, click on Yes.
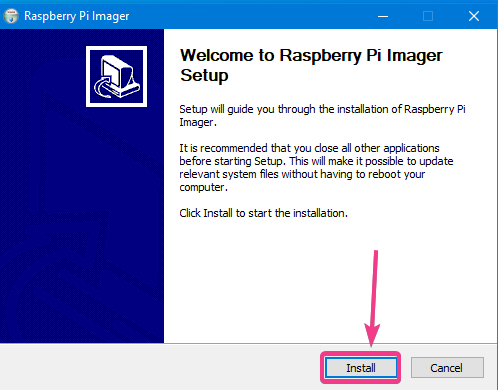
The Raspberry Pi Imager installer should start. Click on Install.
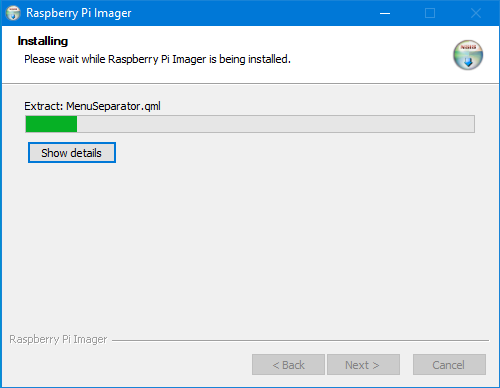
The Raspberry Pi Imager is being installed.
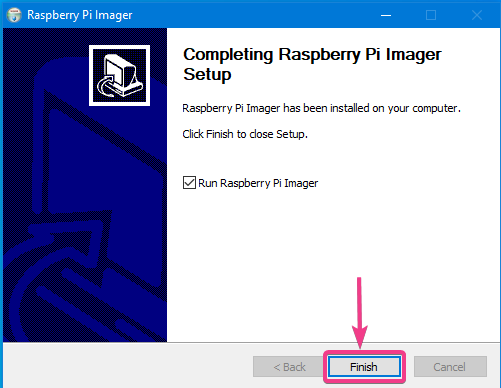
At this point, the Raspberry Pi Imager should be installed. Click on Finish.
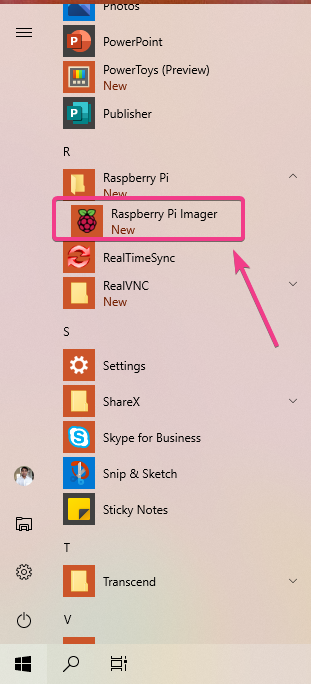
Once the Raspberry Pi Imager is installed, you can start it from the Start menu of Windows 10.
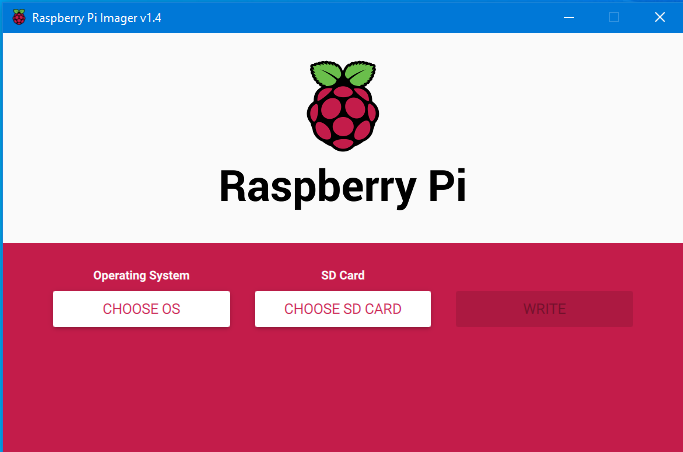
Raspberry Pi Imager should be started.
Installing Raspberry Pi Imager on Ubuntu 20.04 LTS:
In this section, I am going to show you how to install Raspberry Pi Imager on Ubuntu 20.04 LTS.
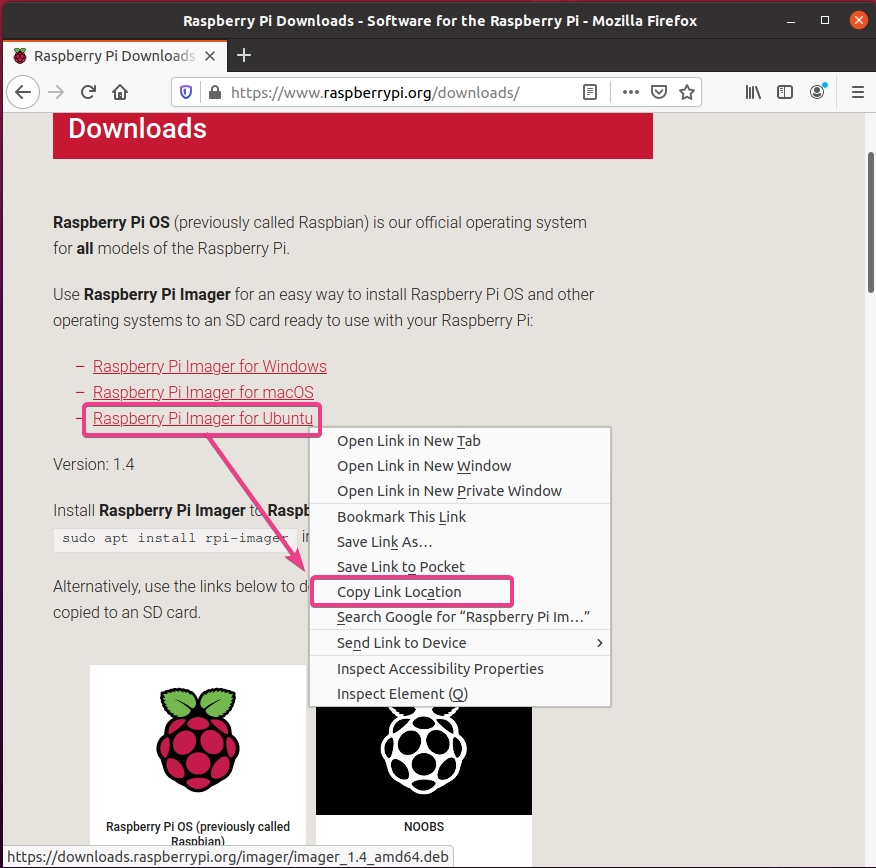
First, visit the official downloads page of Raspberry Pi Imager from your favorite web browser.
Once the page loads, right-click (RMB) on the Raspberry Pi Imager for Ubuntu link and click on Copy Link Location as marked in the screenshot below. The download link should be copied to your clipboard.
Navigate to the /tmp directory as follows:
Download the Raspberry Pi Imager deb file using the link you’ve just copied with wget as follows:
The Raspberry Pi Imager deb file should be downloaded.
The Raspberry Pi Imager deb file is called imager_1.4_amd64.deb (at the time of this writing) as you can see in the screenshot below.
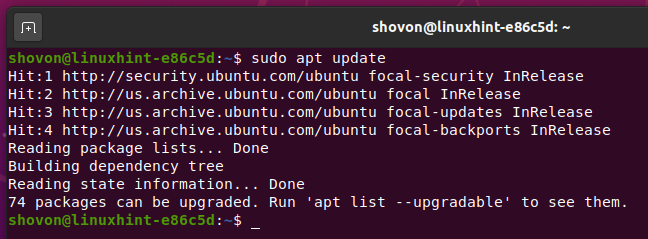
Update the APT package repository cache with the following command:
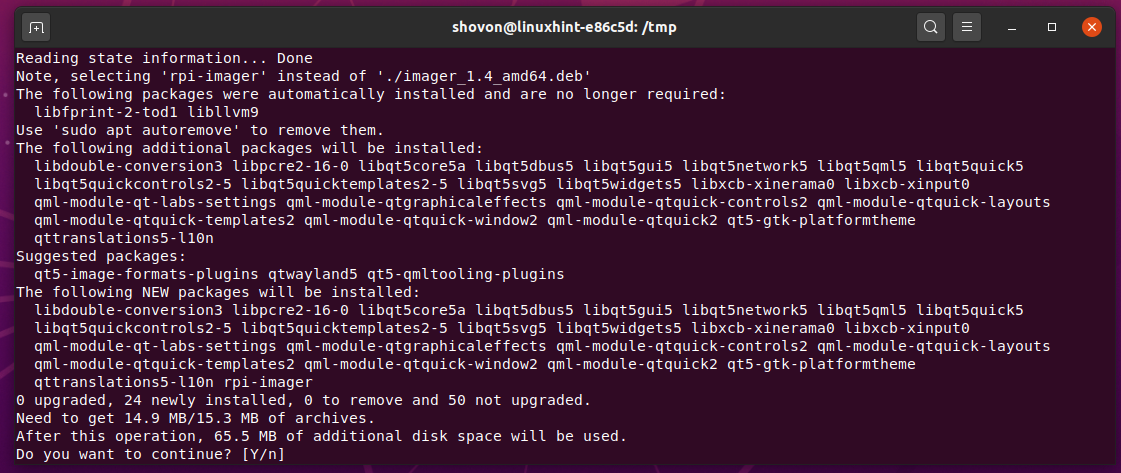
Install Raspberry Pi Imager with the following command:
To confirm the installation, press Y and then press <Enter>.
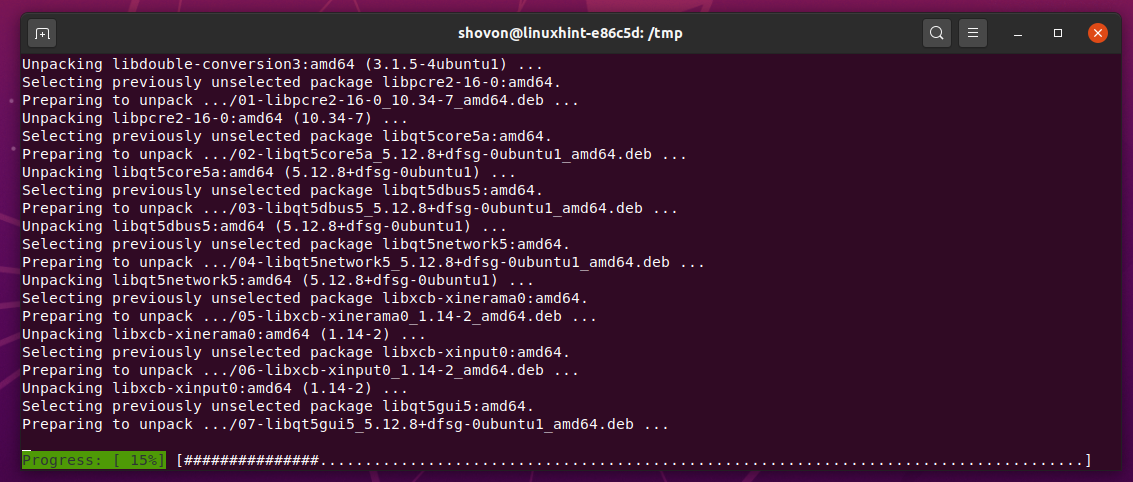
The Raspberry Pi Imager is being installed. It may take a while to complete.
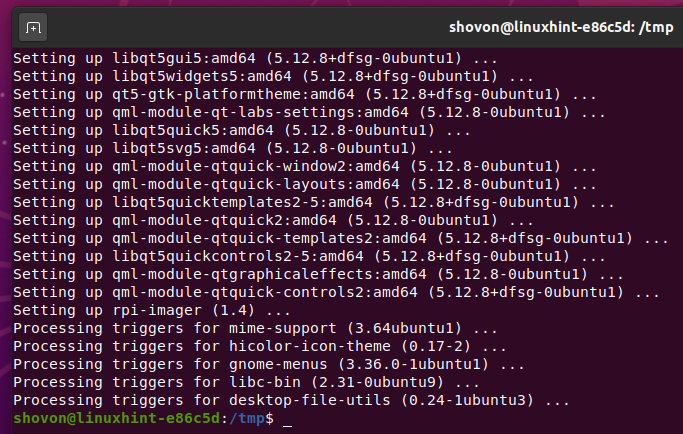
At this point, the Raspberry Pi Imager should be installed.
Once Raspberry Pi Imager is installed, you can start Raspberry Pi Imager from the Application Menu of Ubuntu.
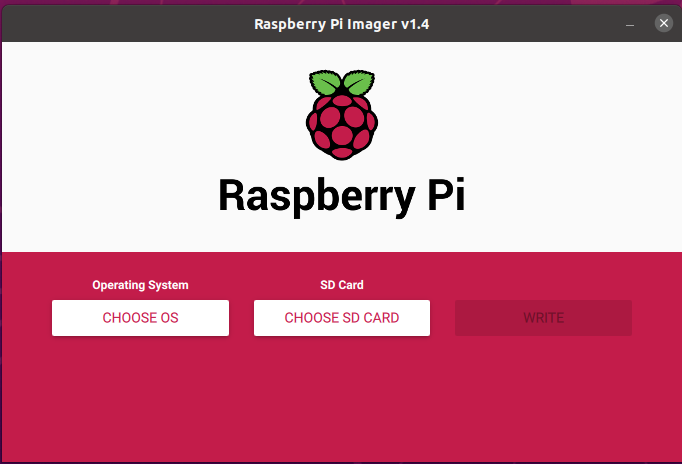
Raspberry Pi Imager should be started.
Using Raspberry Pi Imager:
In this section, I am going to show you how to use the Raspberry Pi Imager.
The main use of the Raspberry Pi Imager is to write/flash operating system images to the microSD card.
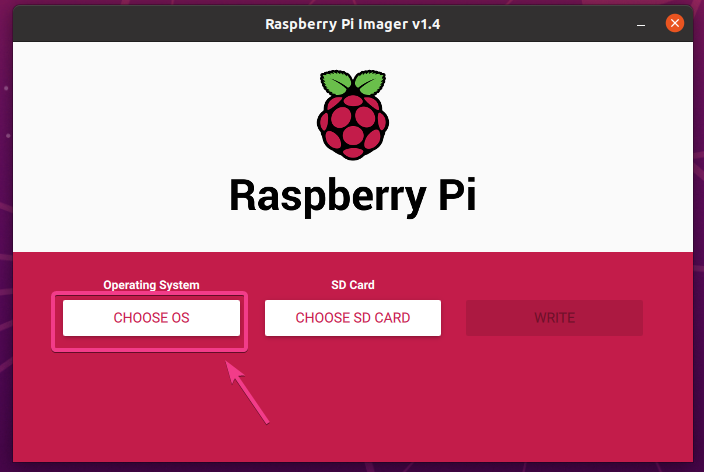
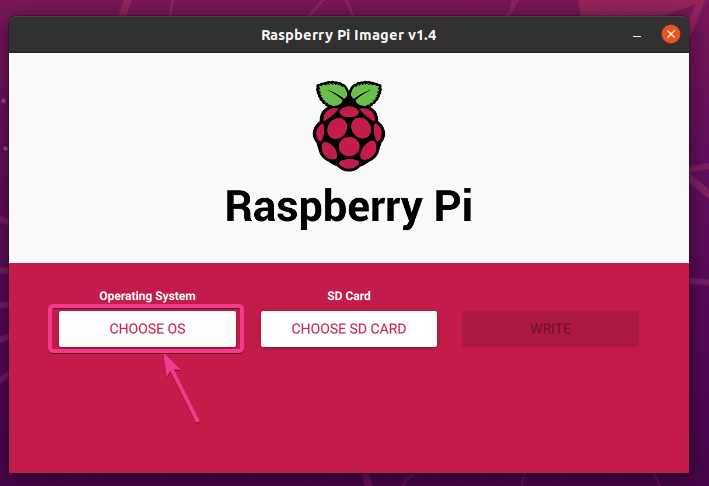
To select an operating system image, click on the CHOOSE OS button as marked in the screenshot below.
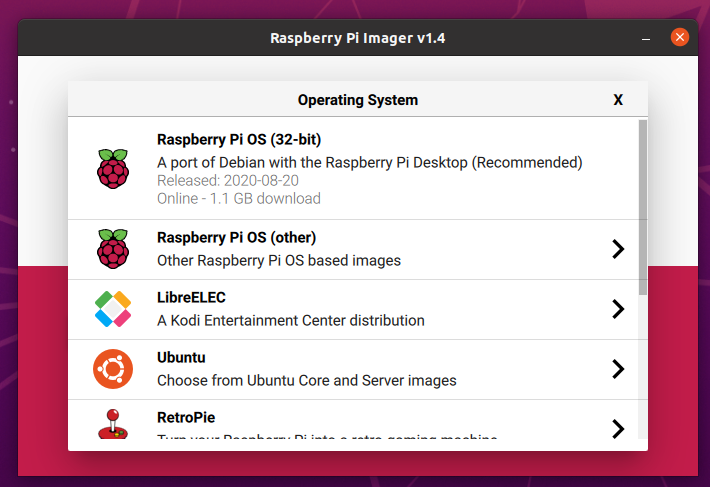
Raspberry Pi Imager will list the most common operating systems for Raspberry Pi devices. If you select one of them from the list, Raspberry Pi Imager will automatically download it and flash it on your MicroSD card. That’s a big plus of Raspberry Pi Imager.
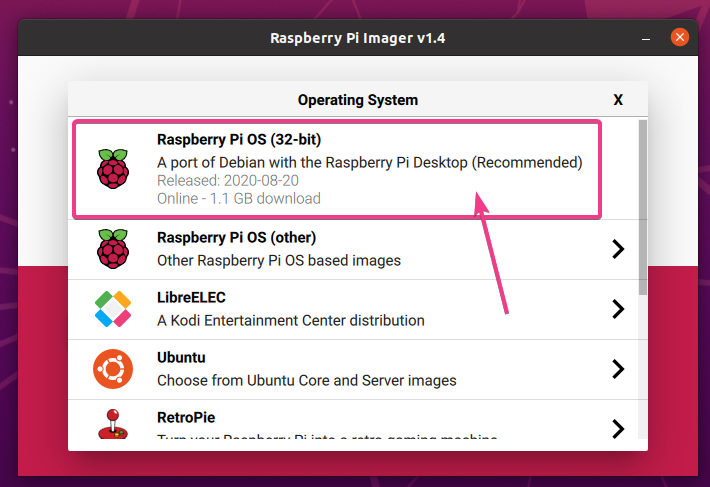
The first one in the list is the standard official Raspberry Pi OS (32-bit) image. It comes with the Raspberry Pi OS desktop environment and a minimal number of software.
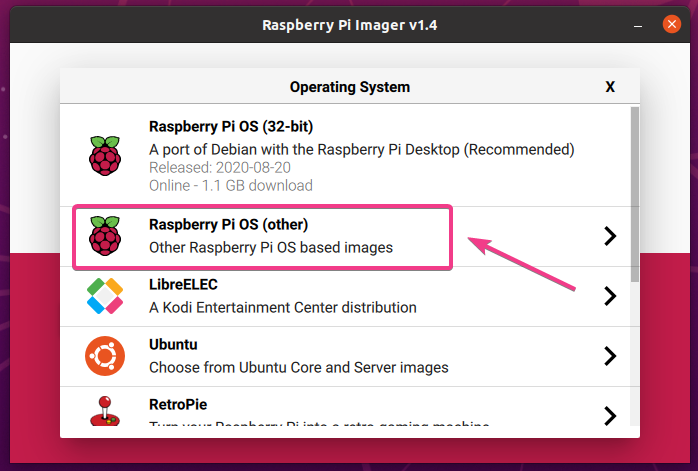
The next one is a group of other official Raspberry Pi OS images.
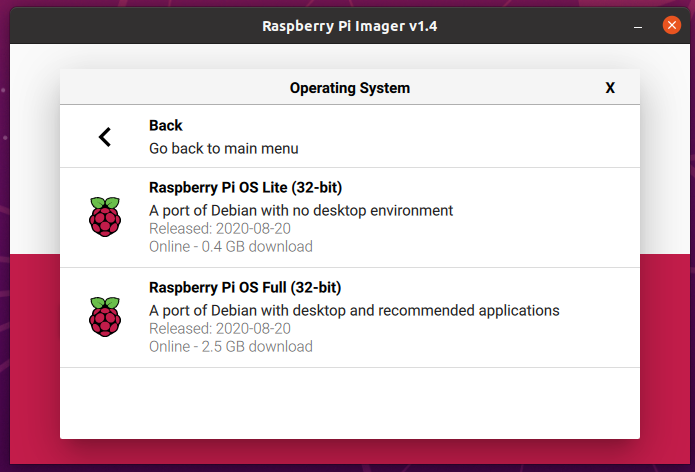
Here, you have the Raspberry Pi OS Lite (32-bit) image and the Raspberry Pi OS Full (32-bit) image.
Raspberry Pi OS Lite (32-bit) image comes with only a limited number of command-line programs and no graphical desktop environment. It is the lightest (in terms of size and system resource usage) of the Raspberry Pi OS images.
Raspberry Pi OS Full (32-bit) image comes with the most commonly used apps/programs and the Raspberry Pi OS graphical desktop environment. It is the heaviest (in terms of size and system resource usage) of the Raspberry Pi OS images.
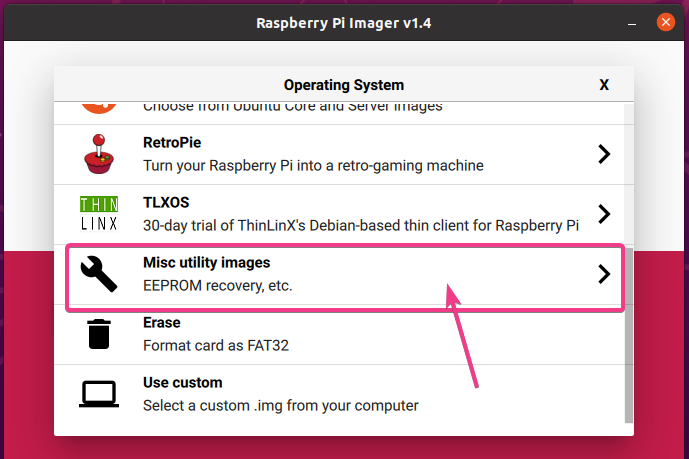
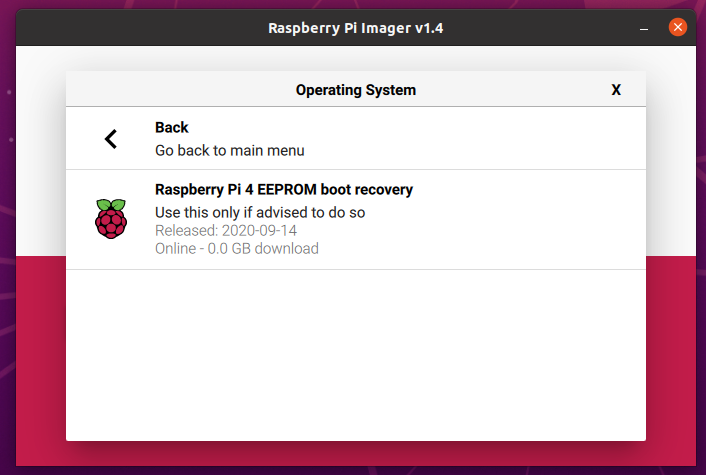
In the Misc Utility images section, you can find Raspberry Pi recovery images.
At the time of this writing, only the Raspberry Pi 4 EEPROM boot recovery image is available.
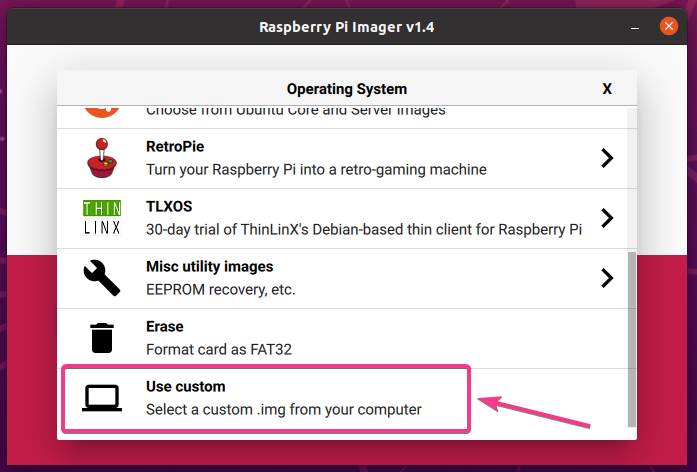
If you have downloaded Raspberry Pi operating system images from third-party websites (other than the official website of Raspberry Pi), you can still flash them to your microSD card using the Raspberry Pi Imager.
To select an image to flash, click on Use custom.
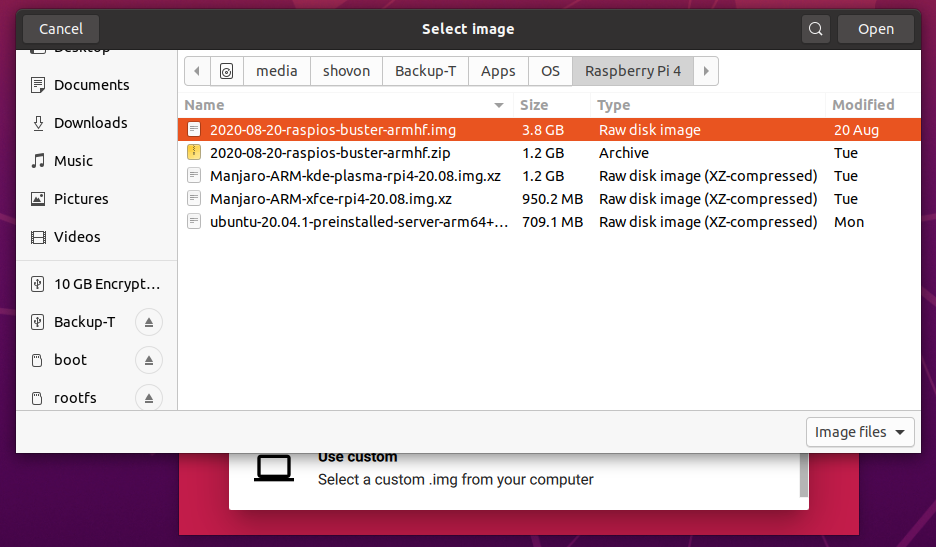
A file picker should be opened. Select your desired image from your filesystem and click on Open.
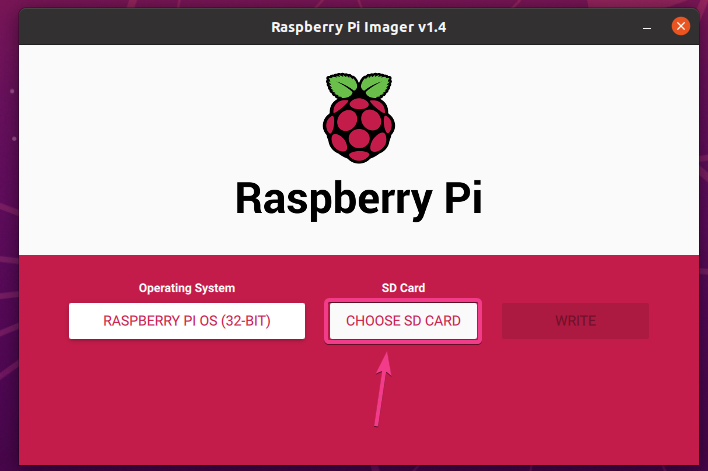
Once you’ve selected an operating system image, click on CHOOSE SD CARD as marked in the screenshot below.
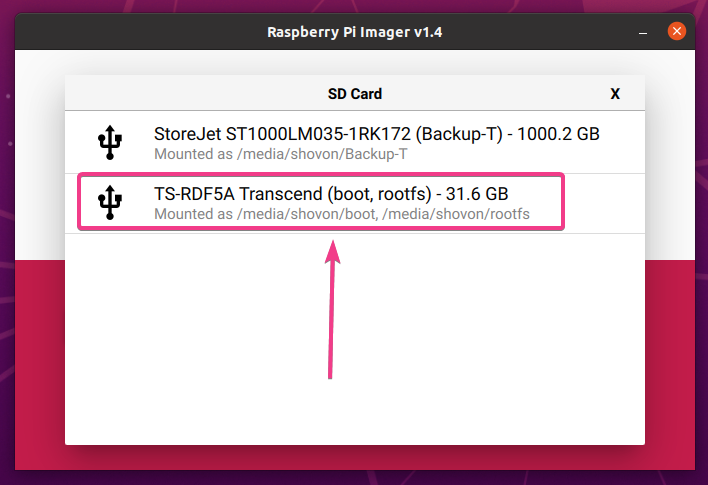
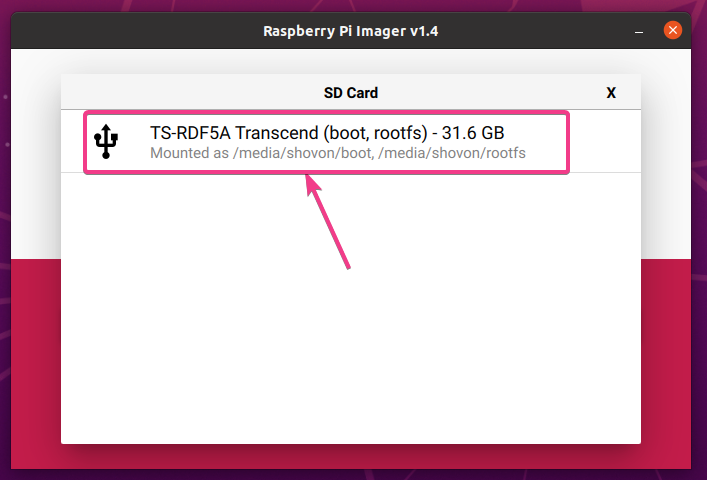
Select your microSD card from the list.
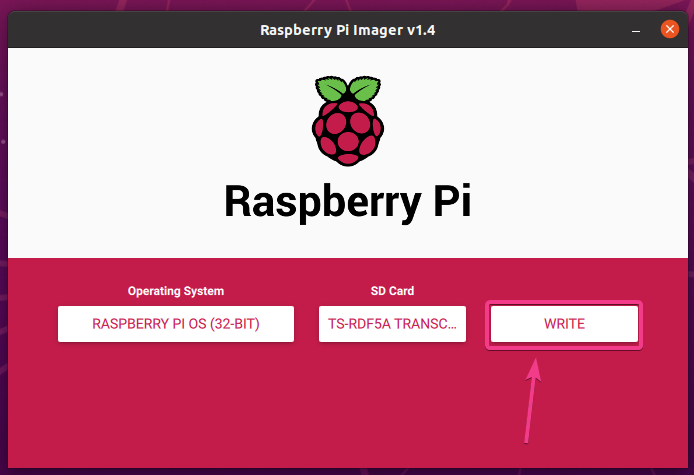
To flash your selected OS image to the microSD card, click on WRITE as marked in the screenshot below.
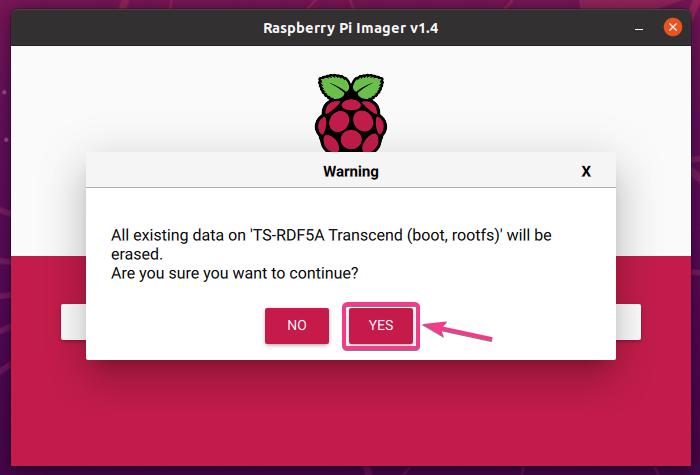
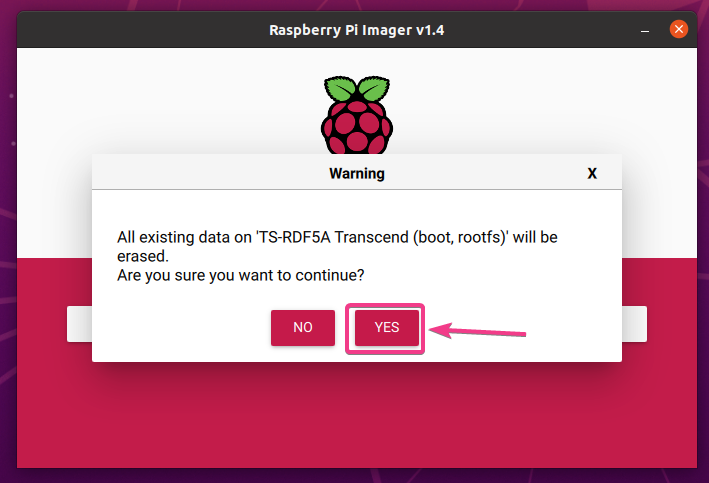
Raspberry Pi Imager will erase all the existing data from your microSD card. To confirm this operation, click on YES.
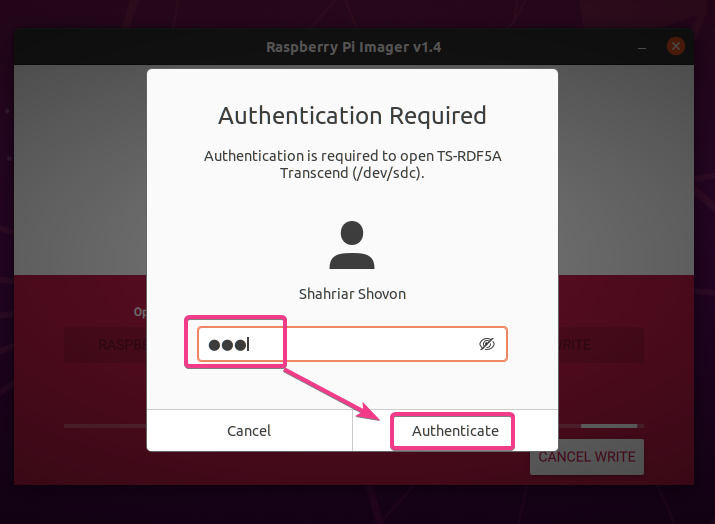
Type in your login password and click on Authenticate.
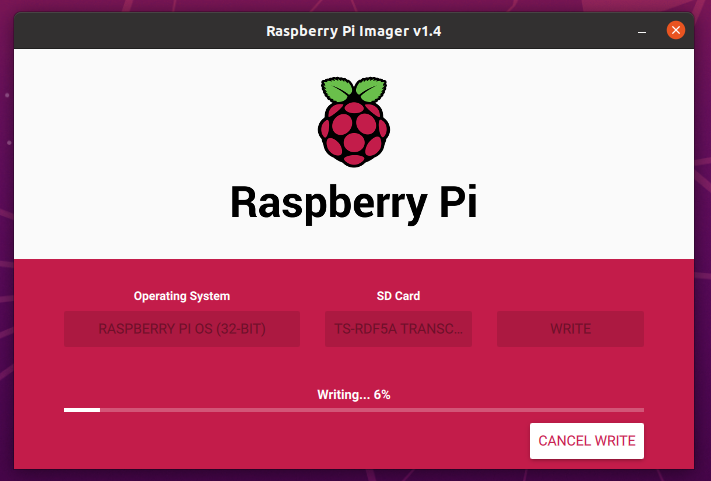
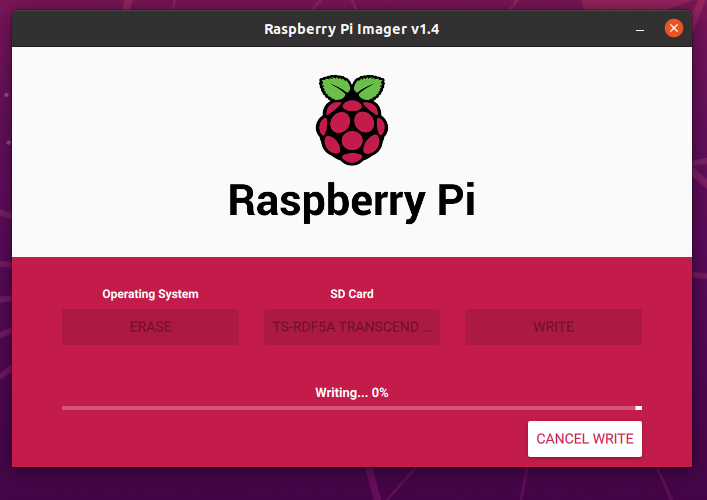
Raspberry Pi Imager should start flashing your desired operating system images to the microSD card. It will take a while to finish.
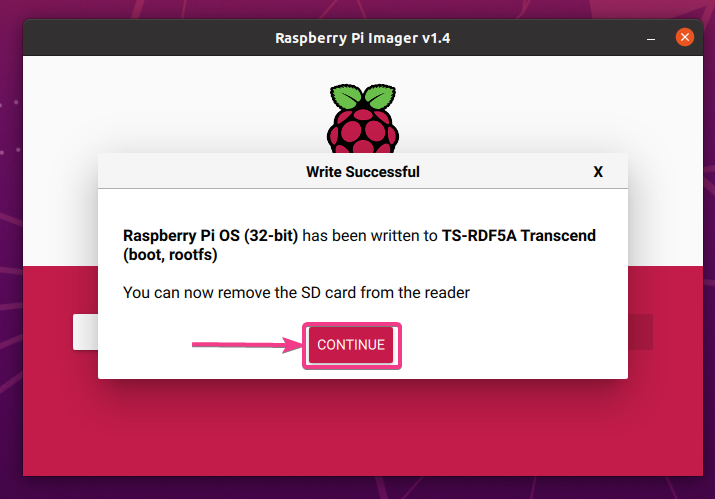
Once the MicroSD card is flashed with your desired operating system image, click on CONTINUE.
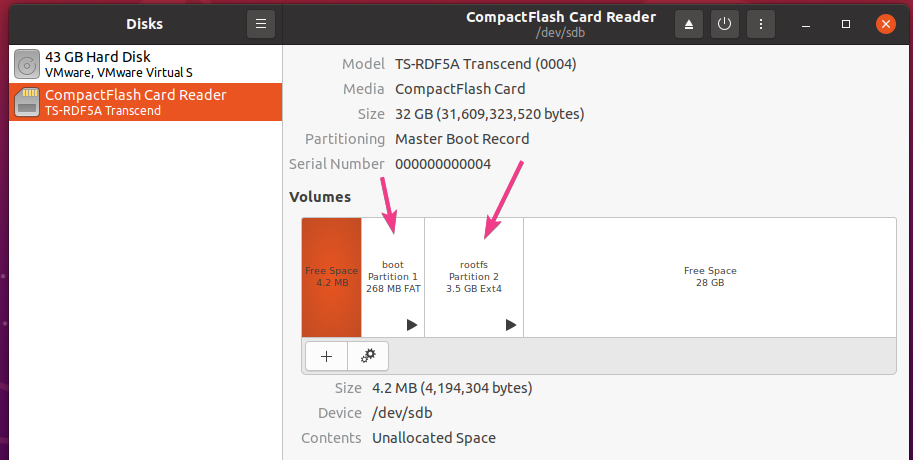
As you can see, my microSD card is flashed with the Raspberry Pi OS (32-bit) operating system image.
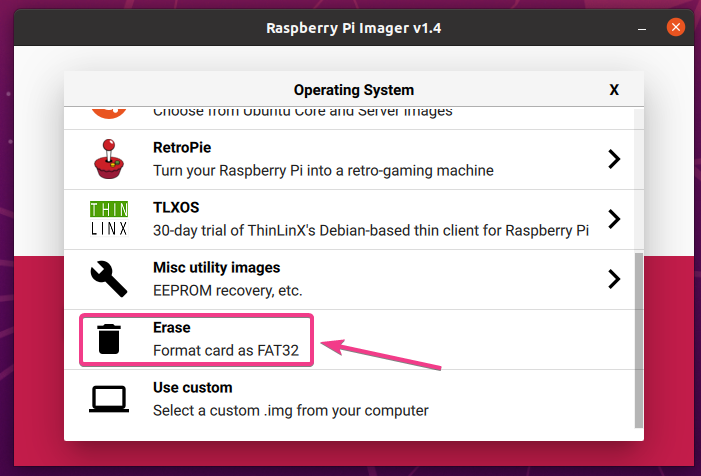
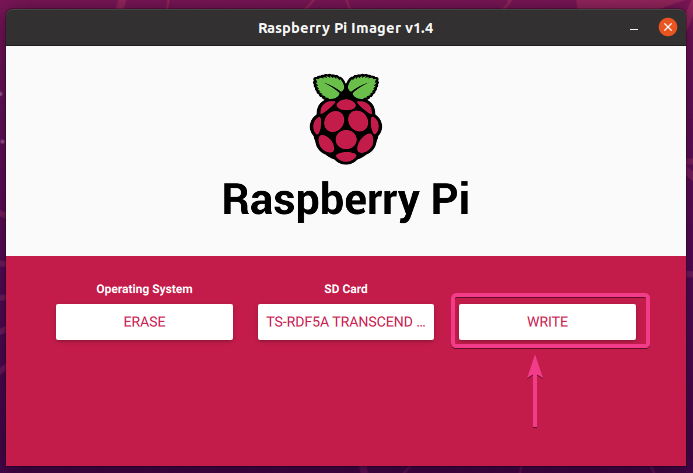
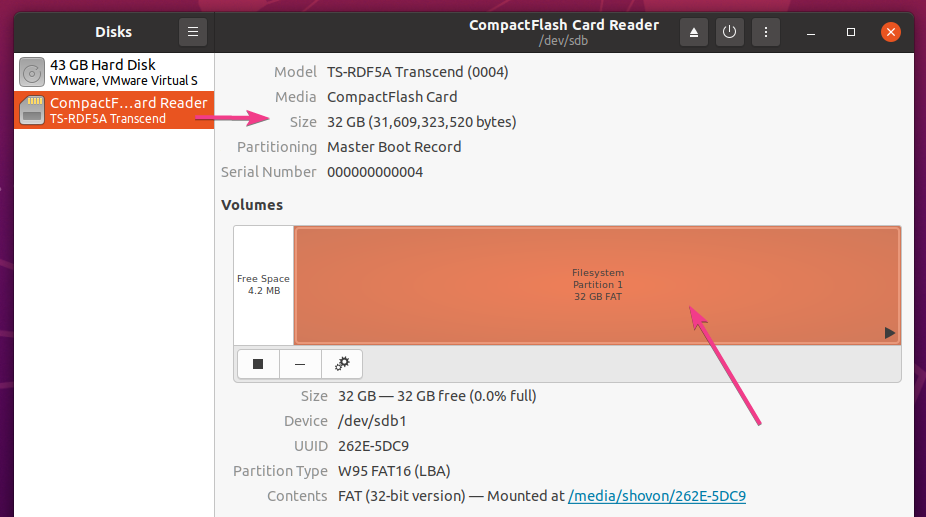
You can also use Raspberry Pi Imager to format a microSD card with the FAT-32 filesystem.
To do that, open Raspberry Pi Imager and click on CHOOSE OS.
Select Erase from the list.
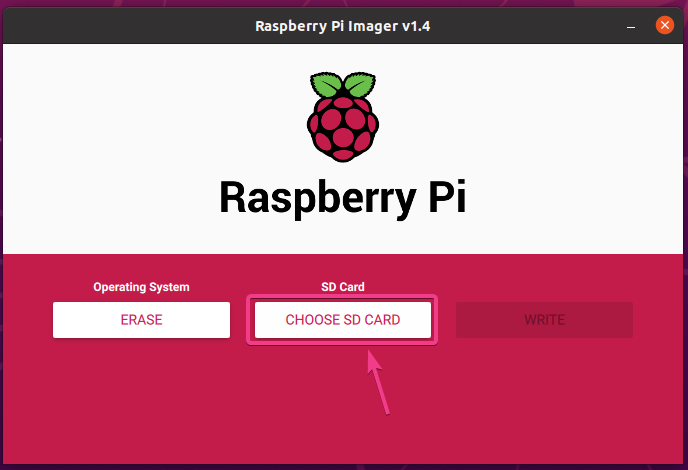
Then, click on CHOOSE SD CARD.
Select your microSD card from the list.
To format the microSD card, click on WRITE.
To confirm the operation, click on YES.
The microSD card should be formatted. It may take a few seconds.
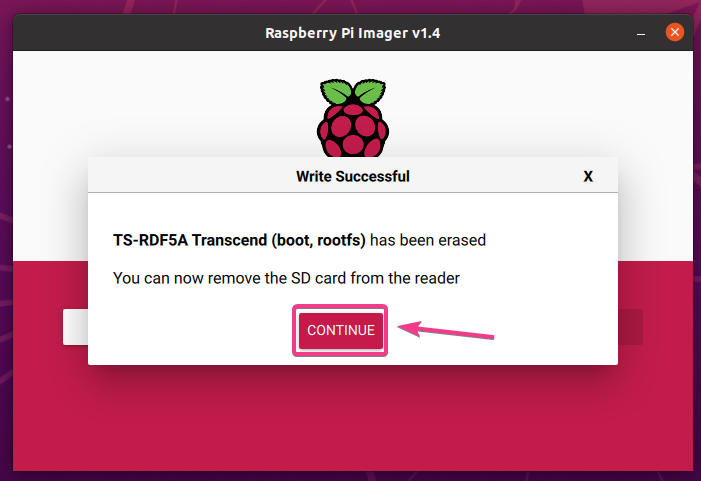
The microSD card should be formatted at this point. Click on CONTINUE.
As you can see, my microSD card is formatted.
Conclusion:
In this article, I have shown you how to install Raspberry Pi Imager on Raspberry Pi OS, Windows 10, and Ubuntu 20.04 LTS operating system. I have also shown you how to use the Raspberry Pi Imager to flash an operating system image on the microSD card and format the microSD card. This article should help you get started with the Raspberry Pi Imager program.


