In this article, I will show you how to install PyCharm on Ubuntu. The procedure shown here will work on Ubuntu 16.04 LTS and later. I will be using Ubuntu 18.04 LTS for the demonstration in this article. So, let’s get started.
Getting Ubuntu Ready for PyCharm:
Before you install PyCharm on Ubuntu, you should install some pre-requisites packages. Otherwise, PyCharm won’t work correctly.
You have to install the Python interpreters that you want to use with PyCharm to run your project. You also have to install PIP for the Python interpreters that you wish to use.
If you want to use Python 2.x with PyCharm, then you can install all the required packages with the following command:
Now, press y and then press <Enter>.
All the required packages for working with Python 2.x in PyCharm should be installed.
If you want to use Python 3.x with PyCharm, then install all the required packages with the following command:
Now, press y and then press <Enter> to continue.
All the required packages for working with Python 3.x in PyCharm should be installed.
Installing PyCharm:
PyCharm has two versions. The Community version, and the Professional versions. The Community version is free to download and use. The Professional version is not free. You have to purchase a license to use the Professional version. The Community version is okay mostly. But it lacks some of the advance features of the Professional version. So, if you need these features, then buy a license and install the Professional version.
On Ubuntu 16.04 LTS and later, PyCharm Community and Professional both versions are available as a snap package in the official snap package repository.
To install PyCharm Community version snap package on Ubuntu 16.04 LTS and later, run the following command:
To install PyCharm Professional version snap package on Ubuntu 16.04 LTS and later, run the following command:
In this article, I will go with the PyCharm Community version.
As you can see, PyCharm Community version snap package is being downloaded.
PyCharm Community version is installed.
Initial Configuration of PyCharm:
Now that PyCharm is installed, you can start it from the Application Menu of Ubuntu. Just search for pycharm in the Application Menu and you should see PyCharm icon as marked in the screenshot below. Just click on it.
As you’re running PyCharm for the first time, you will have to do some initial configuration. Once you see the following window, click on Do not import settings and click on OK.
Now, you will see the JetBrains license agreement window.
Now, click on I confirm that I have read and accept the terms of this User Agreement and click on Continue to accept the license agreement.
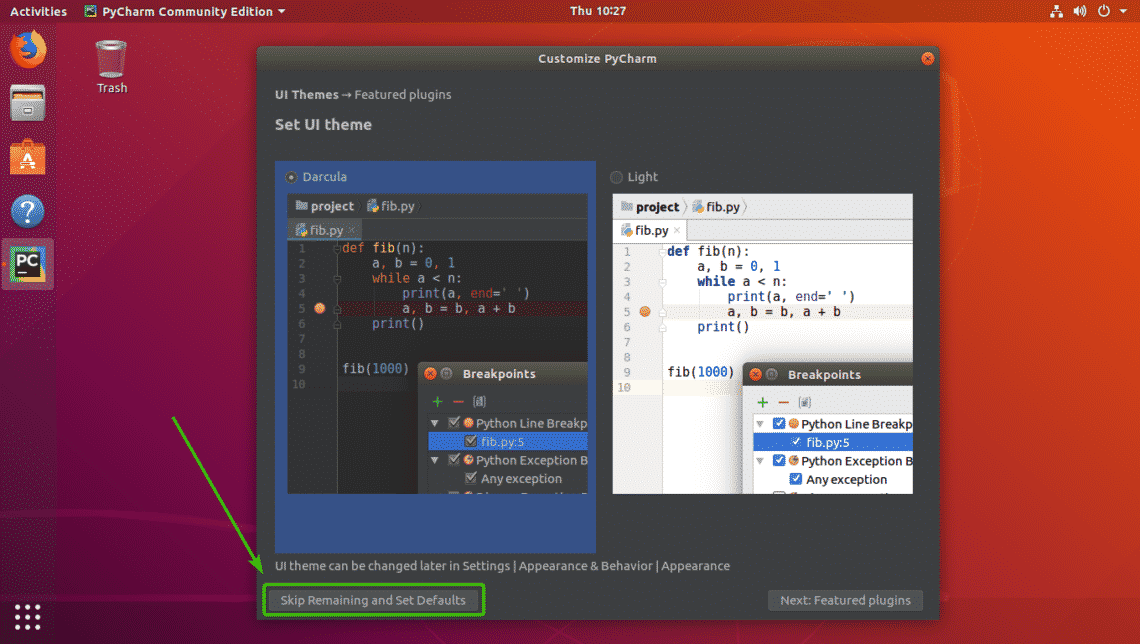
Now, you have to select a UI theme for PyCharm. You can select either the dark theme – Darcula or the Light theme.
Once you select a theme, you can click on Skip Remaining and Set Defaults to leave everything else the default and start PyCharm.
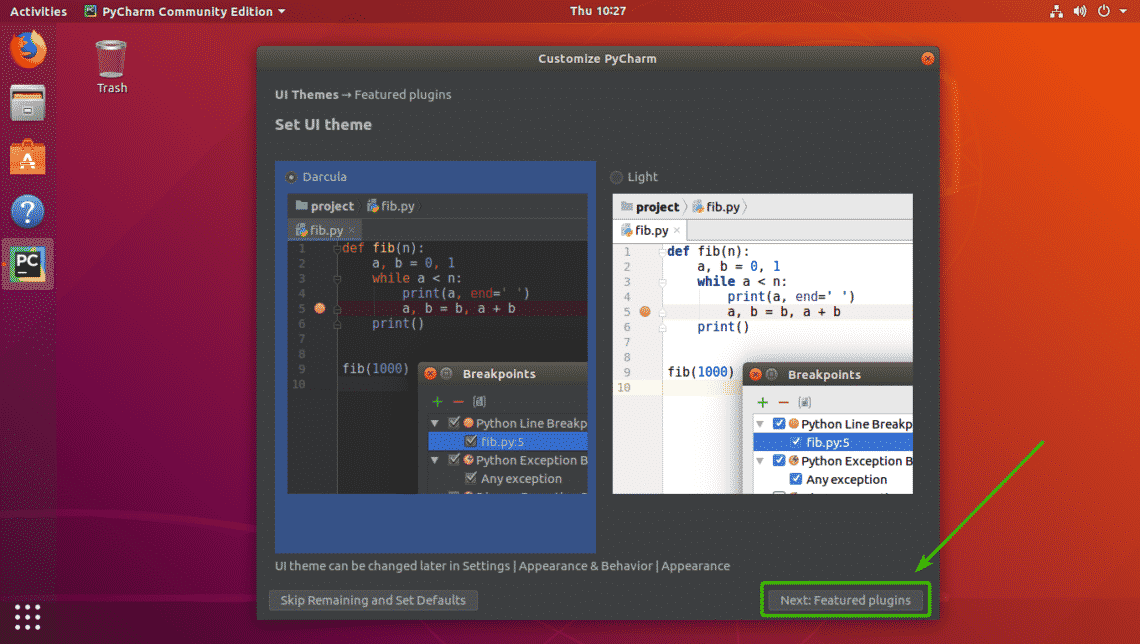
Otherwise, click on Next: Featured plugins.
Once you click on Next: Featured plugins, PyCharm will suggest you some common plugins that you may want to install. If you want to install any plugins from here, click on Install.
Now, click on Start using PyCharm.
As you can see, PyCharm is starting.
PyCharm has started. This is the dashboard of PyCharm.
Creating a Project in PyCharm:
In this section, I will show you how to create a Python project in PyCharm.First, open PyCharm and click on Create New Project.
Now, select a location for your new project. This is where all the files of this project will be saved.
If you want, you can also change the default Python version of your project. To do that, click on the Project Interpreter section to expand it.
Here, you can see in the Base interpreter section, Python 3.6 is selected by default. It is the latest version of Python 3 installed on my Ubuntu 18.04 LTS machine. To change the Python version, click on the Base interpreter drop down menu.
As you can see, all the Python versions installed on my Ubuntu 18.04 LTS machine is listed here. You can pick the one you need from the list. If you want any version of Python which is not listed here, just install it on your computer, and PyCharm should be able to detect it.
Once you’re happy with all the settings, click on Create.
The project should be created.
Now, to create a new Python script, right click on the project and go to New > Python File as marked in the screenshot below.
Now, type in a file name for your Python script and click on OK.
As you can see, test.py file is created and opened in the editor section of PyCharm.
I wrote a very basic Python script as you can see.
Now, to run the Python script currently opened in the editor, press <Alt> + <Shift> + <F10> or go to Run > Run… as marked in the screenshot below.
As you can see, the Python script which is currently opened in the editor is shown here. Just press <Enter>.
As you can see, the script is running.
Once the type in all the inputs, I get the desired output as well.
So, that’s how you install and use PyCharm on Ubuntu. Thank you for reading this article.


