There are two ways to use the Vim setting options:
1. Enable the options for an individual file inside the Vim session using :set Open the desired file in Vim, type any option using the :set command in the Normal mode, and press Enter.
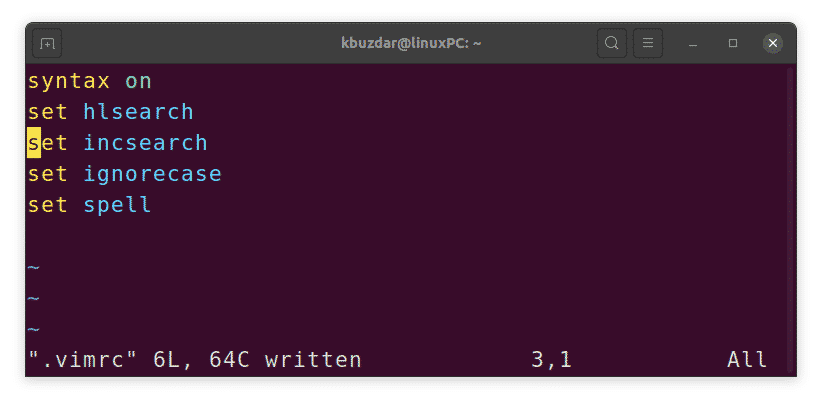
2. Enable the options permanently for all the files by specifying them in the local Vim configuration file ~/.vimrc. Whatever options you want to enable, simply add them in the ~/.vimrc file by removing the (:) before the set command, then save and close the file.
Vim configuration file can be created for the current user with the following command in the Terminal:
To edit the Vim configuration file, use the following command in Terminal:
Searching options
Enable search highlighting
While searching for some text, it is often helpful to highlight all the search results so that you can find at a glance where the matching pattern lies. Enabling search highlighting adds a colored background to all the search results. Search highlighting is disabled by default.
To enable search highlighting, use the following command:
To disable search highlighting, just prefix the option with the word “no”.
Incremental searches
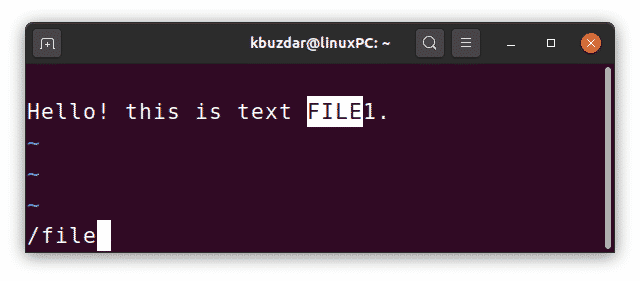
Usually, when you perform a normal search in Vim, you are only able to see the result after you have typed the whole search word and pressed Enter. With Vim incremental search, you can see the search results as you start typing the search word. It highlights all the text that matches what you have entered so far. For instance, you are searching for the word “count”. As you start typing letters, you will see Vim highlighting the matches.
The incremental search is disabled by default. To enable incremental search, use the following command:
To disable incremental search, just prefix the option with the word “no”.
Case insensitive search
By default, the Vim performs case sensitive search, treating uppercase and lowercase letter differently. To perform case insensitive search, use the following command:
To re-enable the case sensitive search, just prefix the option with the word “no”.
Smart search
Sometimes, while performing case sensitive search for some text, you need to perform case insensitive search for some other text. Shifting between ignorecase and noignorecase can be annoying. Fortunately, Vim allows us to do smart searching by using the smartcase option with the ignorecase option. By combining these options, you will get either case sensitive or insensitive search based on the scenario:
- If you enter a search query in lowercase, the search will be case insensitive. For example, searching for ubuntu will find ubuntu, Ubuntu, and UBUNTU.
- If you enter a search query that contains one or more letters in uppercase, the search will be sensitive. For example, searching for Ubuntu will find only Ubuntu, not Ubuntu or UBUNTU
To perform a smart search in Vim, use the following commands:
:set smartcase (press Enter)
To disable smart search, just prefix the options with the word “no”:
Automatically write files
While switching between multiple files, Vim asks you to first save the file if it has been modified. However, with the autowrite option, Vim saves the file automatically when you use the :n (or :p, :first, :last) commands to switch to another file.
To automatically write files before opening another file, use the following command:
To disable this option, just prefix the option with the word “no”.
Enabling Automatic Indentation
Enabling automatic indentation in Vim allows you to indent each line the same as the previous one. For example, you indent a line with Space or Tab and press Enter. The next lines you type will automatically be intended with the same amount as the previous line.
To enable automatic indentation in Vim, use the following command:
To disable automatic indentation, just prefix the option with the word “no”.
Syntax highlighting
Syntax highlighting displays the source code in different colors to enhance its readability. To enable syntax highlight in Vim, use the following command:
To disable the syntax highlighting, just prefix the option with the word “no”.
Set a color scheme for syntax highlighting
The color scheme is basically a combination of colors that is used in syntax highlighting. It comes handy, as the colors can help you identify various data types, functions, parameters, etc.
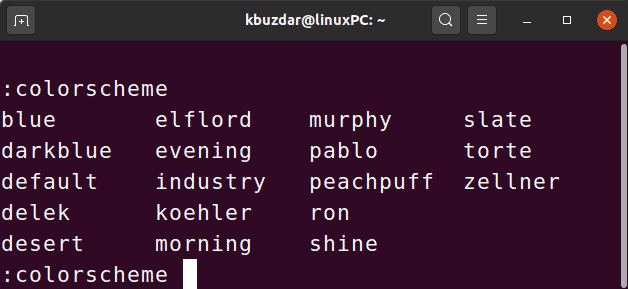
Vim contains some pre-installed color schemes which can be viewed from inside the Vim. Type :colorscheme, hit Spacebar and then use the shortcut Ctrl+d:
To set a new color scheme for syntax highlighting, type the :colorscheme command followed by the name of the scheme.
Example:
Display numbering
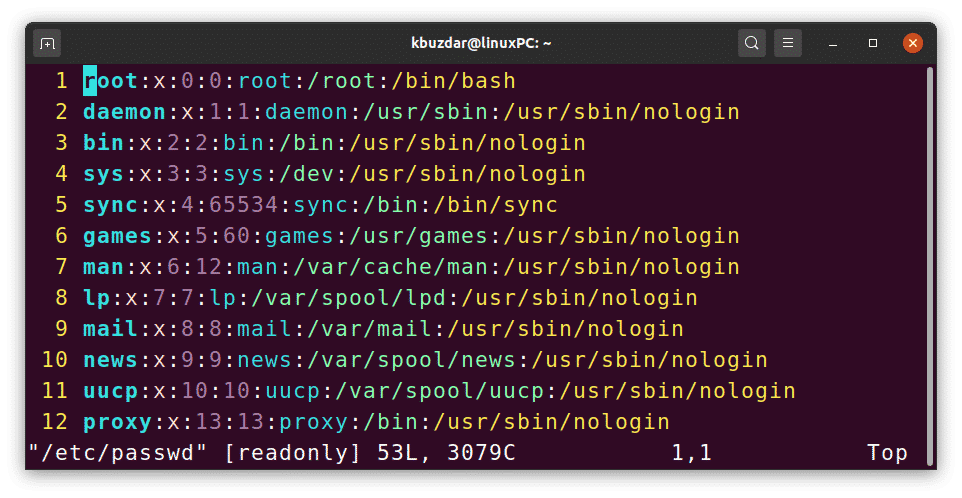
Line numbers in an editor can be very helpful in navigating through the file. It also tells where you are in the file. By default, Vim does not show line numbering.
To show line numbers in Vim, use the following command:
To hide line numbering, just prefix the option with the word “no”.
Set windows title
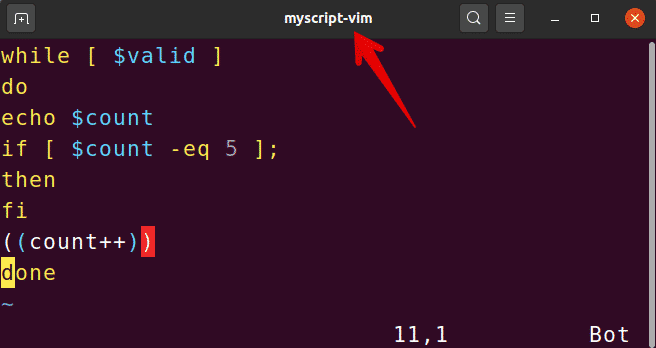
Vim also allows you to change the title of the Vim editing window. With this feature, you can display the file that is currently being edited.
To specify a new title for your Vim window, use the following command by replacing the string with your preferred string name.
To display the original filename as a title, use %t :
After specifying the title string, use the following command to set this new title:
To remove the new title and return to default one, just prefix the option with the word “no”.
Display cursor position
Using the ruler command in Vim, you can find out the cursor current position in the file. It shows the row and column of the cursor, which can be quite helpful when scrolling through a long text file.
To display the cursor’s current position in the Vim, use the following command:
To disable this option, just prefix the option with the word “no”.
Set confirm
When you try to perform certain operations (like :q or :e) on a modified file without saving it, the operations get failed. However, if you use the confirm option, the Vim displays the confirmation dialog asking if you want to save the file.
To use the confirmation option in Vim, use the following command:
To disable this option, just prefix the option with the word “no”.
Set history
By default, Vim remembers the history of 50 (:) commands and search patterns. However, you can change this default behavior by decreasing or increasing the number of commands to remember.
To change the number of commands Vim remember, use the following command by replacing the x with the number of commands to remember:
Enable Spell Check
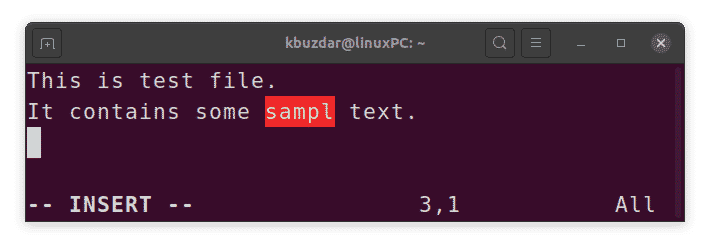
Another great feature in Vim is spell-checking. When spell check is enabled, Vim finds and highlights the misspelled word.
To enable spell checking in Vim, use the following command:
To disable this option, just prefix the option with the word “no”.
So that’s how you can use some of the important and useful Vim setting options to configure Vim according to your preferences. Use these options on individual files or apply them to all files by adding them in the ~/.vimrc file.


