Ubuntu 17.10 Artful Aardvark uses kernel 4.13.0 by default. It is pretty new. Most of the people will not need to update it. But if someone really need something that is only available in a later version of the kernel and feel like updating the kernel, then this article is for you. In this article, I will show you how to update the default kernel 4.13.0 on Ubuntu 17.10 Artful Aardvark. Let’s get started.
You can check the version of the currently installed kernel on Ubuntu 17.10 using the following command:
$ uname -r
You can update the kernel of your Ubuntu 17.10 operating system in 2 ways. You can either use graphical user interface or the terminal. You can use Ubuntu Kernel Update Utility (UKUU), which is used to update the kernel of Ubuntu operating systems. UKUU has a graphical user interface version called ukuu-gtk and a command line utility. The problem is, UKUU GTK doesn’t work on Wayland very well, it only works on X11. So on Ubuntu 17.10, we can update the kernel only through the command line interface. I will show you how you can update the kernel from the command line with UKUU.
Installing UKUU:
Ubuntu Kernel Update Utility (UKUU) is not installed on Ubuntu by default and it’s also not available on Ubuntu software repository. So we have to install UKUU from UKUU PPA.
To add the UKUU PPA, run the following command and press <Enter>:
$ sudo add-apt-repository ppa:teejee2008/ppa
Now run the following command to update the package repository cache of your Ubuntu 17.10 operating system:
$ sudo apt-get update
Now we are ready to install UKUU, Run the following command to install UKUU:
$ sudo apt-get install ukuu
Press ‘y’ and press <Enter> to continue. UKUU should be downloaded and installed.
Updating the Kernel with UKUU:
Once UKUU is installed, you can open up a terminal (Ctrl+Alt+T on Ubuntu) and update the kernel.
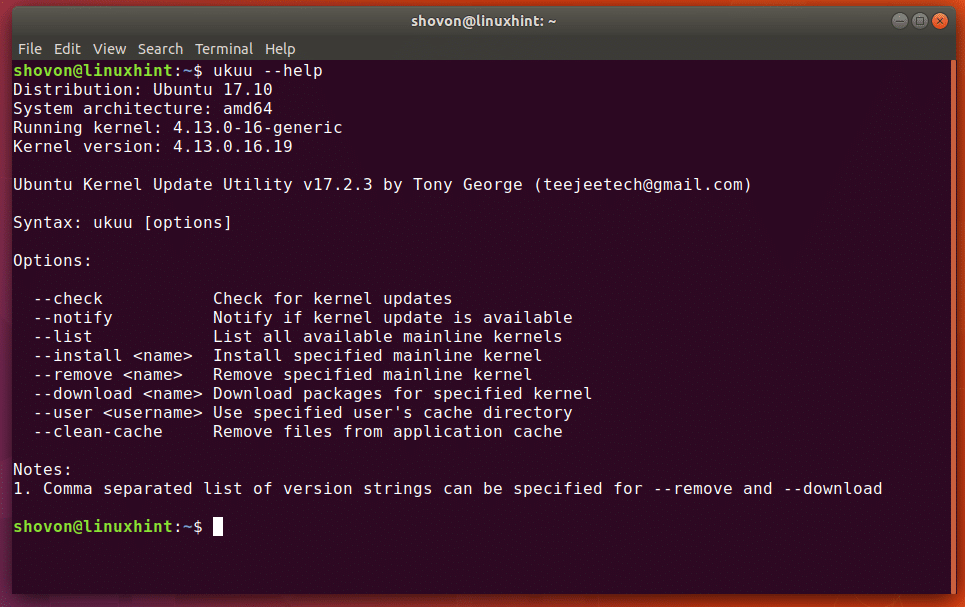
You can run the following command to see what you can do with UKUU.
$ ukuu –help
You can see that, we can check for kernel updates, install and remove kernels with UKUU.
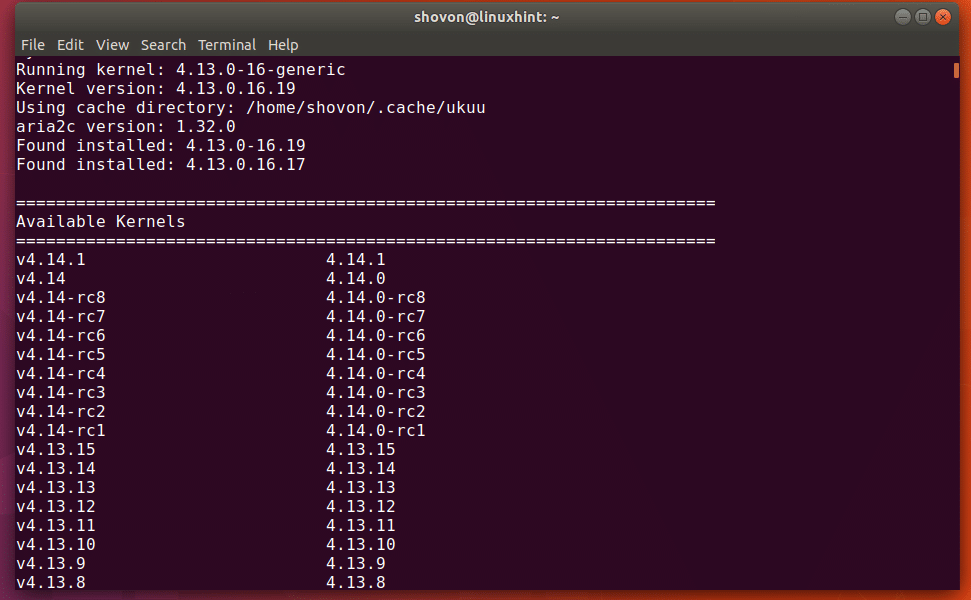
Now run the following command to see what kernels are available right now for download.
$ ukuu –list
UKUU will download a list of kernels that are available. It may take a while. You will have to wait till it’s done.
Once the download is complete, ukuu should show you a very long list of kernels. But we are interested on the first items of the list, as the list is sorted in descending order which means the latest versions are listed above the old versions. You can see that the current kernel version is 4.13.0. I want to install 4.14.1, the latest version as of this writing.
To install kernel 4.14.1 with UKUU, run the following command:
$ xhost +
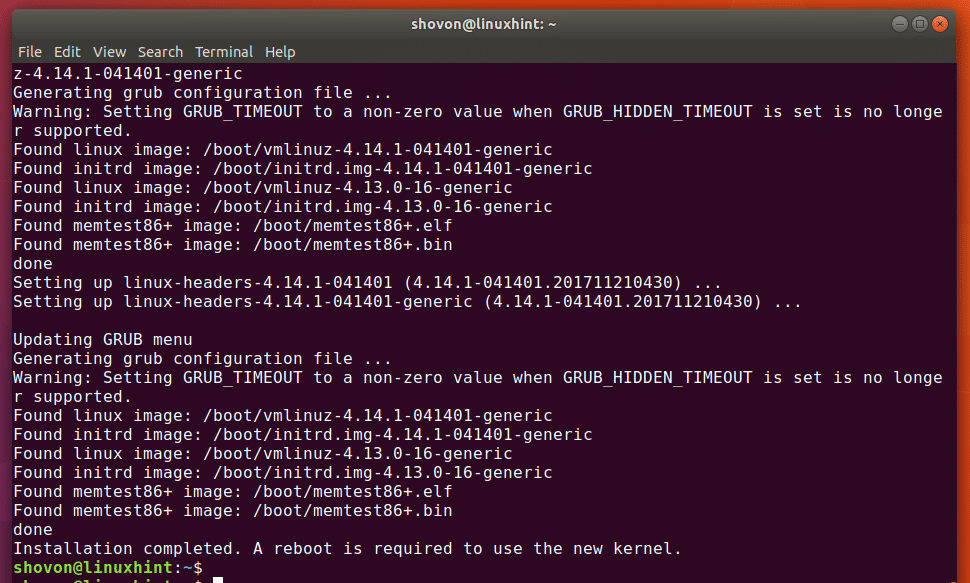
$ sudo ukuu --install v4.14.1
It will take several minutes to download and install everything depending on your internet connection.
Once the download and installation is complete, reboot your computer with the following command:
$ reboot
Now run the following command to see the current kernel version:
$ uname -r
You can see that the kernel is updated to 4.14.1. So that’s how you update the kernel of Ubuntu 17.10 Artful Aardvark. Thanks for reading this article.


