File copying in terminal
Copying the content of one directory into another is a very simple task. However, you have plenty of options of doing it. Linux is blessed with numerous tools to manipulate files and directories through various actions.
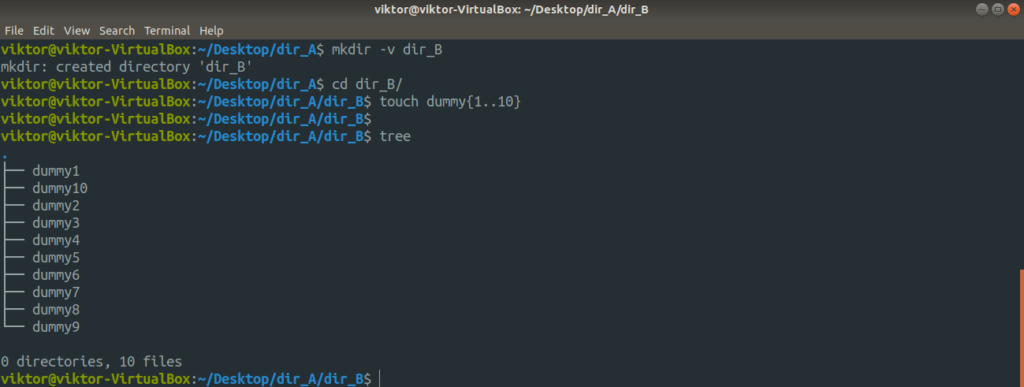
All the steps are demonstrated on Ubuntu 18.04.1. At first, let’s create a handful of dummy files to work with.
Now, let’s create the dummy files using touch.
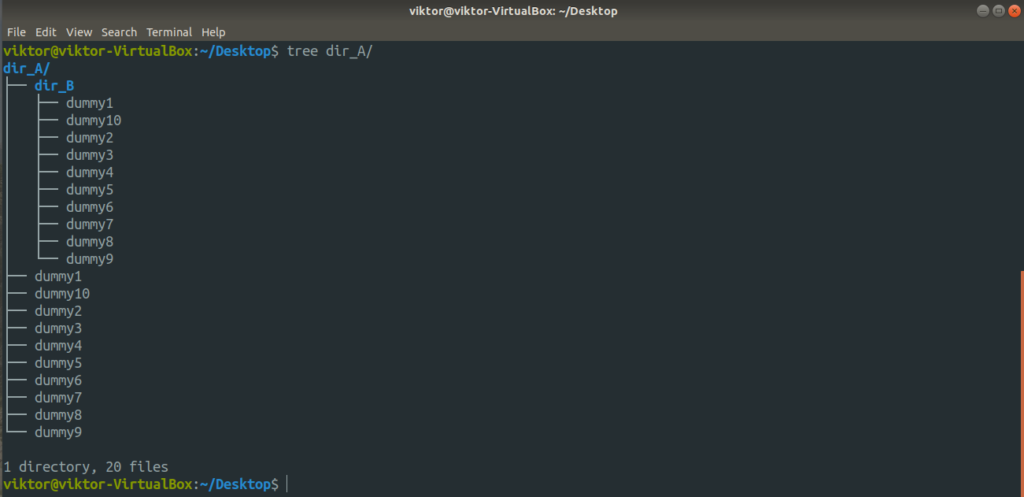
Let’s create another folder within dir_A with a handful of dummy files.
$ touch dummy{1..10}
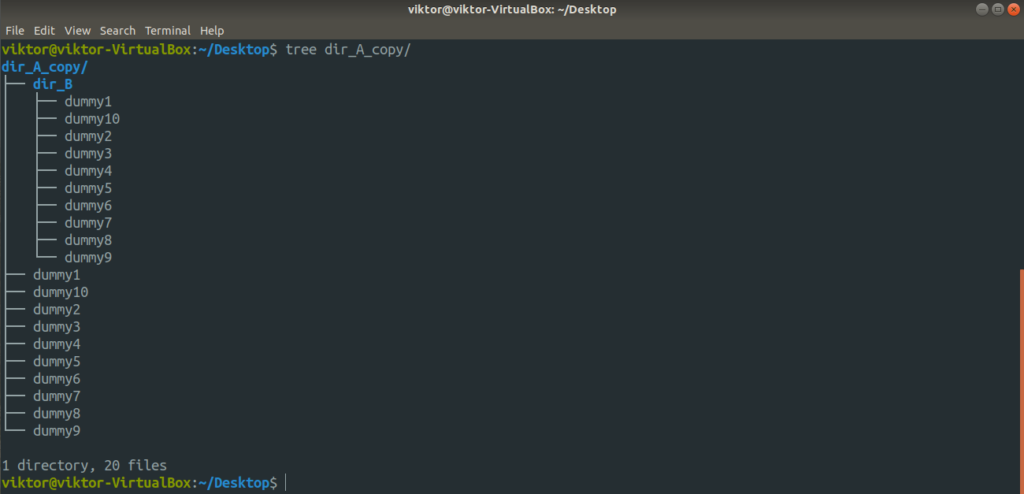
Now, the entire structure of the directory dir_A looks like this.
Cp Command
The cp command is, by far, the most common tool for copying files. It’s a tool that comes by default with any Linux system. Copying files and directories are the sole purpose of cp. It supports a wide range of features.
This is the basic structure of the cp command.
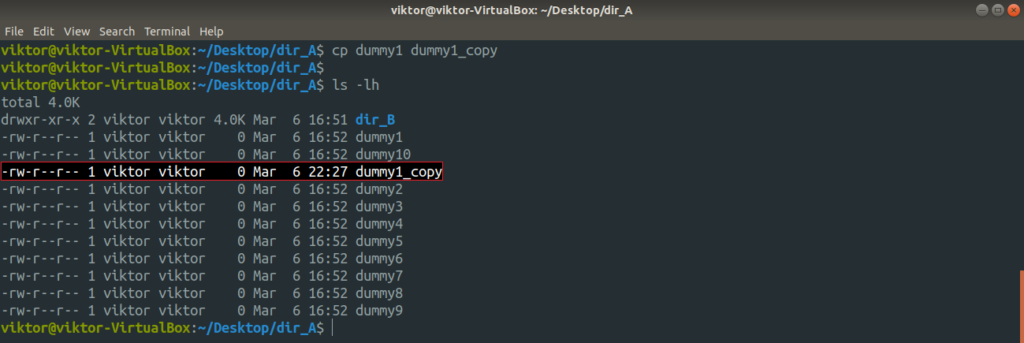
For example, let’s make a copy of the dummy1 file with the name dummy1_copy.
Now, let’s try copying multiple files at once. For such an operation, cp requires the destination be a directory. Here, I’ll be using wildcard expression to grab all the dummy files and put them into the ~/Downloads directory.
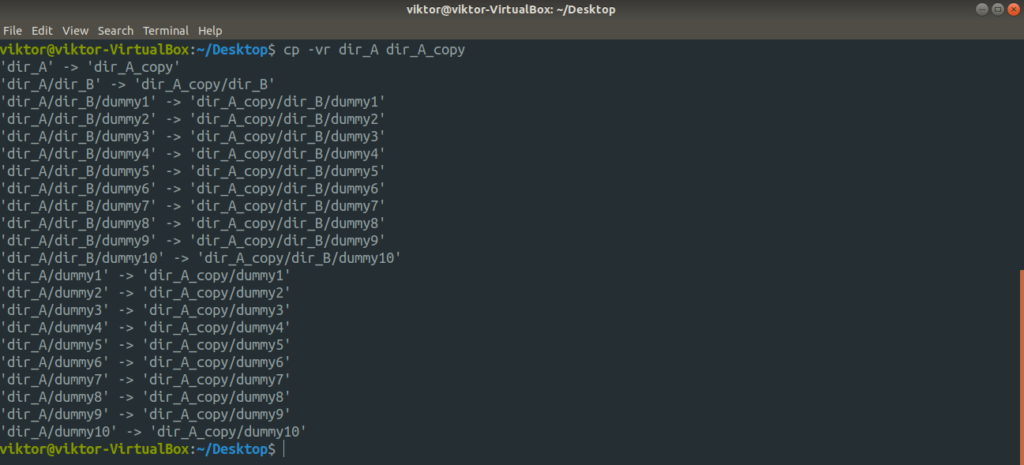
How about copying a directory?
Here, we used two different flags. Let’s have a quick breakdown of them.
- -r: Stands for a recursive copy (including any hidden file(s)). Must-have flag if copying involves an entire directory or more.
- -v: Stands for verbose. The cp tool will output every single action it’s performing.
Want to follow the symbolic links? Add the “-L” flag.
Let’s say the destination directory already has a file with the same name. If you want to avoid overwriting, use the “-n” flag. It’ll ensure that in case of conflict, cp won’t overwrite the file.
If you’re performing a sensitive copy/paste action, it’s better to have the finest control over what happens, right? In such a case, use the “-i” flag. It stands for an interactive mode where cp will ask for confirmation every time a conflict arises.
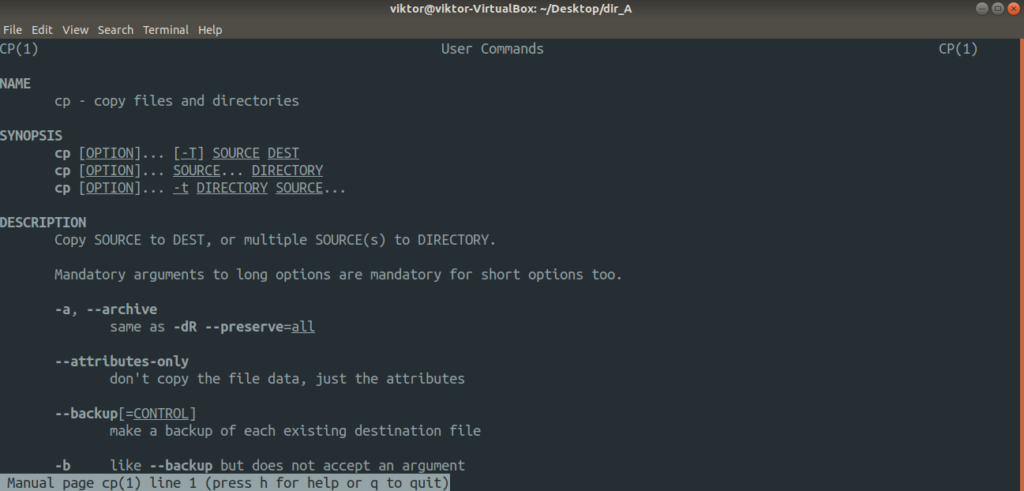
If you’re more interested, the man page is always one of the best documentation. Learn more about cp.
mv command
The mv tool is similar to the cp tool. However, instead of copying, mv moves files and directories. Compared to cp, it’s a simpler one.
The command structure of mv is similar to cp.
To move the contents of dir_A to dir_A_copy, run the following command.
Here, the “-v” flag is for verbose mode. If you want to move just the contents of dir_A, use the following one instead. In this case, the target directory must exist beforehand.
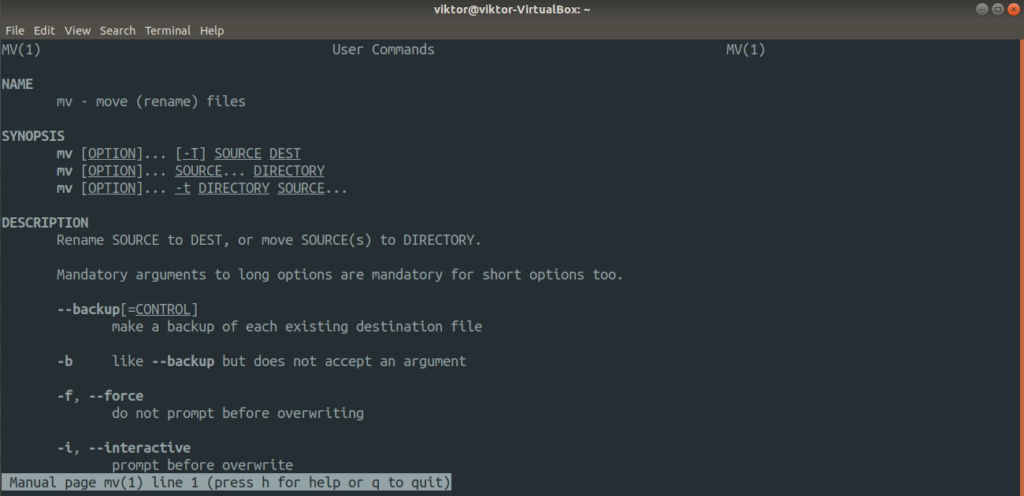
The mv tool doesn’t have much to work with. For all the available options, check out the man page.
Rsync Command
This is one of the most popular and powerful tools for file copying, used mostly for backup. It holds the ability to copy files over a remote connection. Unlike cp and mv, it also comes with a ton of advanced file copying options that offer the utmost customization of its behavior.
Rsync is mostly famous for its delta-transfer algorithm that dramatically reduces the amount of data that needs to be exchanged. In the case of remote syncing, this saves up a lot of bandwidth.
Rsync doesn’t generally come pre-installed in any Linux distro. However, because of its popularity, it’s now available on all the major Linux distros. Use Pkgs.org to find out the rsync package for your distro. Assuming that you got rsync installed, let’s get started.
First, the basic command structure of rsync. It’s quite similar to cp.
Before getting started, here are a handful of popular rsync arguments.
- -v: Verbose mode, outputs whatever action being performed on the console screen.
- -vv: Verbose mode with more details
- -r: Recursive mode, must be present if copying directories
- -z: Compress data
- -a: Archive data
- -n: Dry run, should be run in combination with verbose mode. Simply outputs the actions if the command was to run for real
- –delete: Delete the file(s) and directory(s) on the destination directory if the source directory doesn’t contain them any longer
- -no-whole-file: Forces rsync to use its delta transmission algorithm, no matter what. Useful in scenarios where you must ensure the least amount of data write.
- –remove-source-file: Delete source file(s) after copying.
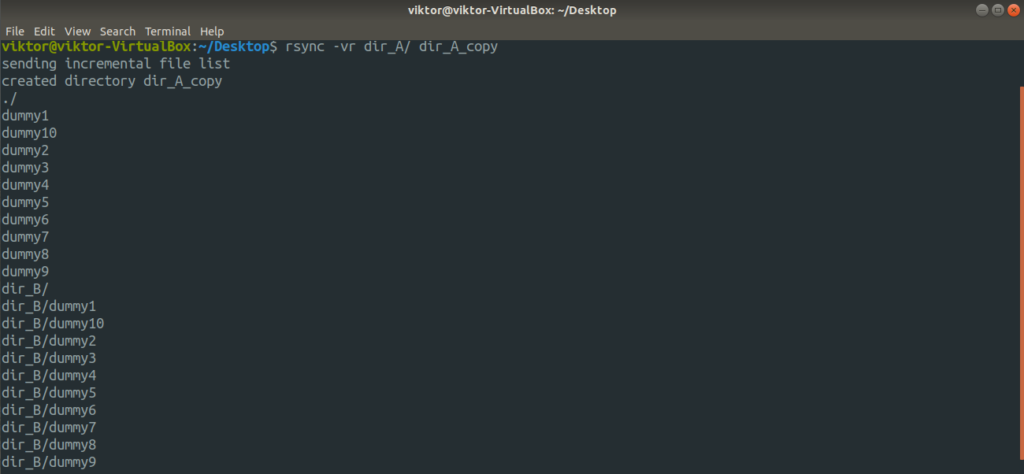
Let’s check them out in action. First, the directory copy. Run the following command.
For further detailed output, let’s use the “-vv” flag.
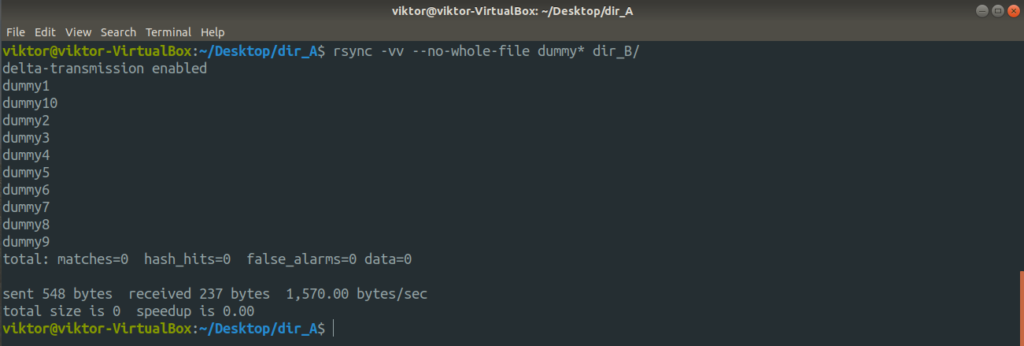
Now, let’s check out the cool part of rsync. We discussed how rsync intelligently copies only the files that are modified, saving bandwidth and disk write. It’s time to check it out in action. In this example, the action will be performed within the dir_A directory.
Despite delta-transmission enabled, rsync may not apply it when you’re performing local data transfer.
Now, let’s check out the dry run feature. Before running any rsync command for real, it’s always important that you test it out beforehand. This is where the dry run comes in. Rsync will output what will happen if the command was to actually run.
Rsync can also work with remote directories, no problem. All it needs is a proper SSH connection with SSH keys configured.
<username>@<remote_host>:<destination_dir>
Want to perform a move operation? To put that in rsync’s perspective, rsync will copy the contents of the source directory and then, delete the source content.
Check out the result of the operation.
Final thoughts
The cp and rsync are the most common tools you can use for copying files in a folder on the Linux terminal. Both of them are also really good for scripting. Just make sure to test the functions out before implementation.
Enjoy!


